La peinture est la renovation la plus transformative et la moins chere que vous puissiez faire. Un pot de peinture coute 30-60 euros et change l’ambiance d’une piece entiere en un apres-midi. C’est aussi la decision de renovation sur laquelle les gens s’angoissent le plus — parce que le petit echantillon qui semblait parfait en magasin se lit bizarrement comme du blanc d’hopital, du bleu bebe ou du << a quoi est-ce que je pensais >> une fois qu’il couvre un mur entier.
La difficulte de choisir les couleurs de peinture ne tient pas au gout — elle tient a l’eclairage. Les couleurs de peinture semblent completement differentes selon la lumiere de votre piece : sa direction, son intensite, sa temperature de couleur et la facon dont elle change au fil de la journee. Le meme beige qui semble chaleureux et accueillant dans une piece orientee au sud peut sembler plat et gris dans une piece orientee au nord. Comprendre cela est la cle pour choisir des couleurs avec lesquelles vous serez reellement heureux.
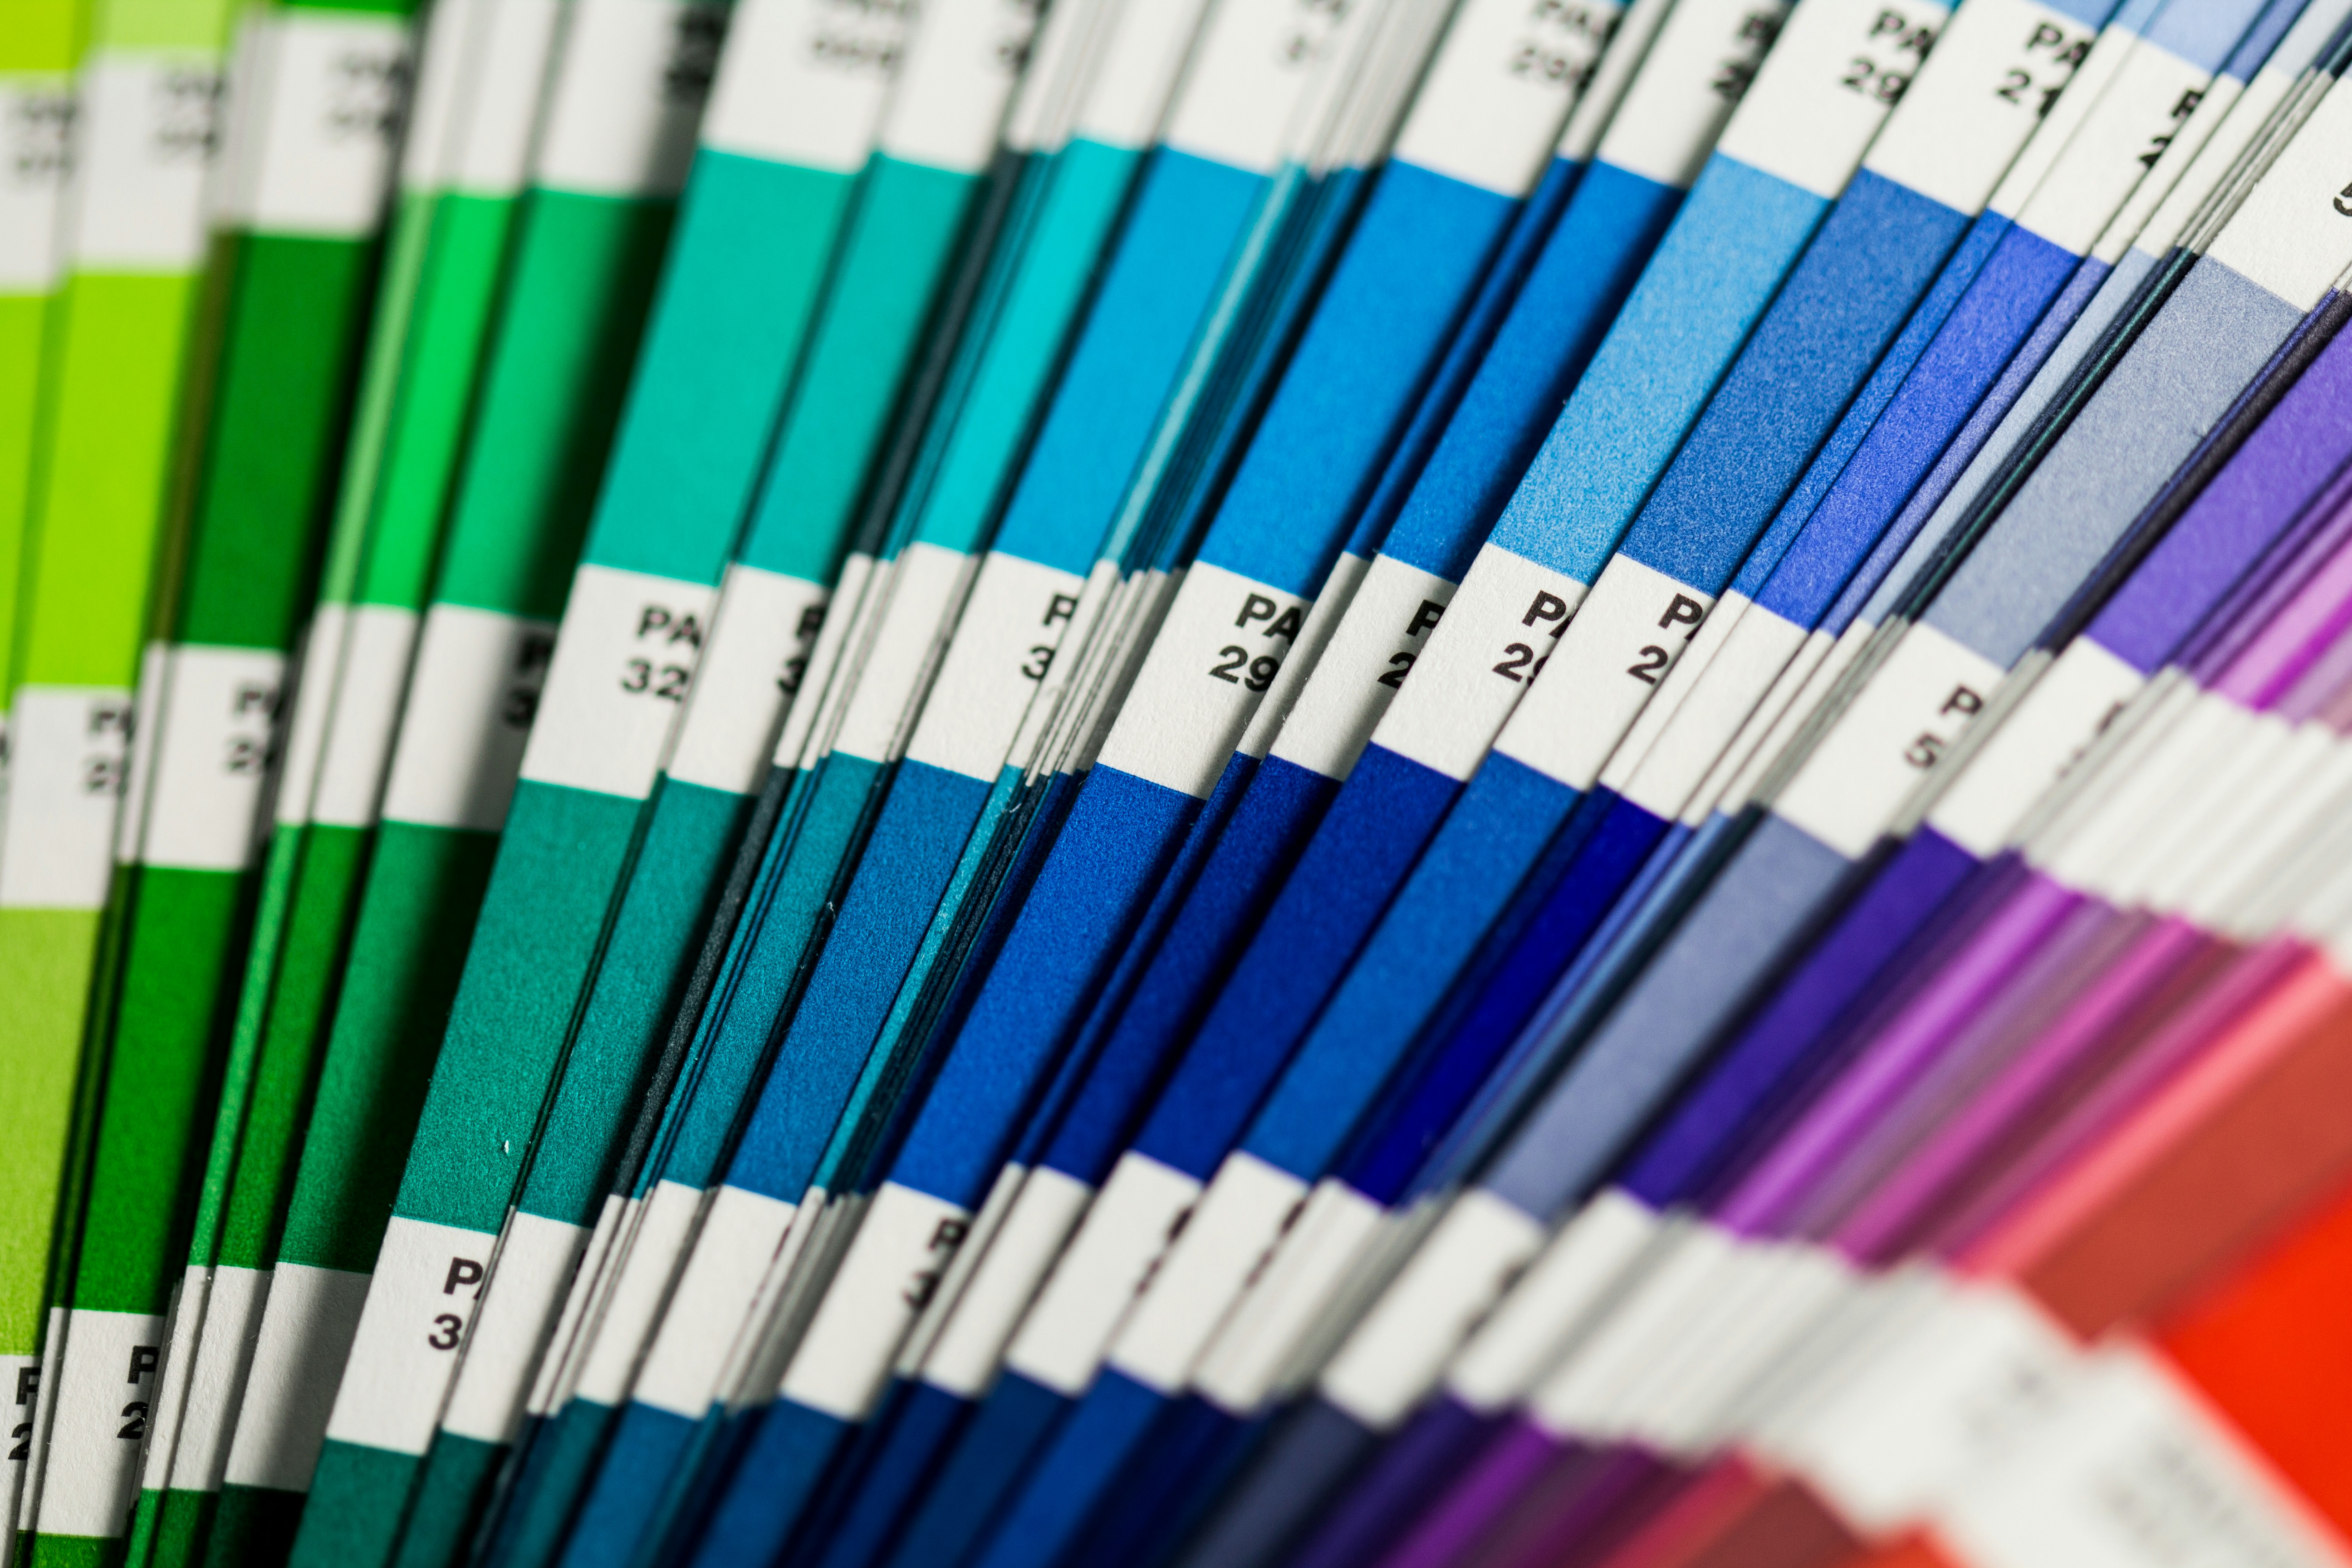
La premiere regle : ne choisissez jamais d’apres un nuancier
L’erreur de peinture la plus courante est de choisir une couleur d’apres un echantillon papier dans un magasin sous un eclairage fluorescent, d’acheter trois pots et de peindre une piece entiere sur cette base. La couleur sur l’echantillon n’est pas la couleur sur votre mur. Le processus correct : rassemblez des echantillons dans la famille de couleurs generale que vous voulez, reduisez a 3-5 candidats, achetez des pots d’echantillon de chaque (5-8 euros chacun), peignez de grands echantillons (au moins 60 x 60 cm) sur plusieurs murs de la piece, vivez avec les echantillons pendant au moins 48 heures, observez-les en lumiere du matin, de l’apres-midi et en lumiere artificielle le soir, puis decidez. Sauter ce processus est la raison de la plupart des regrets de peinture.
Comment la lumiere affecte la couleur
Pieces orientees au nord : Recoivent une lumiere froide et indirecte qui reste relativement constante. Les couleurs paraissent plus froides et plus plates que sur l’echantillon. Les blancs chauds, les cremes et les couleurs avec des sous-tons jaunes ou rouges compensent la lumiere froide. Evitez les gris et les bleus froids.
Pieces orientees au sud : Recoivent une lumiere chaude et directe qui change de maniere spectaculaire au fil de la journee. Presque toutes les couleurs fonctionnent, mais la chaleur amplifie les tons chauds — ce creme que vous aimiez peut sembler jaune a 17h.
Pieces orientees a l’est : Lumiere chaude et brillante le matin qui s’estompe en lumiere plus froide l’apres-midi. Les couleurs paraissent chaudes le matin et plus froides le soir.
Pieces orientees a l’ouest : L’inverse — lumiere relativement plate le matin, devenant chaude et doree l’apres-midi et le soir. C’est le changement de lumiere le plus spectaculaire. Testez les echantillons aux deux moments de la journee.
Lumiere artificielle : Change tout. Les ampoules a incandescence et LED chaudes (2700K) ajoutent de la chaleur. Les LED froides (4000K+) ajoutent une lumiere bleu-blanc qui rend les couleurs plus froides. Si vous utilisez principalement une piece le soir, testez vos echantillons sous cet eclairage.
La strategie couleur pour toute la maison
Plutot que de choisir les couleurs piece par piece, choisissez une palette pour toute la maison. Un blanc ou neutre pour tous les couloirs, plafonds et boiseries. Une couleur murale principale pour la zone de vie principale. Une couleur d’accent par piece adjacente. Cette approche donne une personnalite a chaque piece tout en maintenant une sensation de cohesion.
Recommandations piece par piece
Salon : Un neutre chaud — Benjamin Moore Pale Oak, Sherwin-Williams Accessible Beige. Cuisine : Blanc ou neutre tres clair. Chambre : Une couleur apaisante — bleu-vert doux, gris chaud, lavande poussiereuse. Salle de bain : Blanc chaud ou gris-vert tres clair. Bureau : Un bleu doux ou vert sauge pour la concentration.
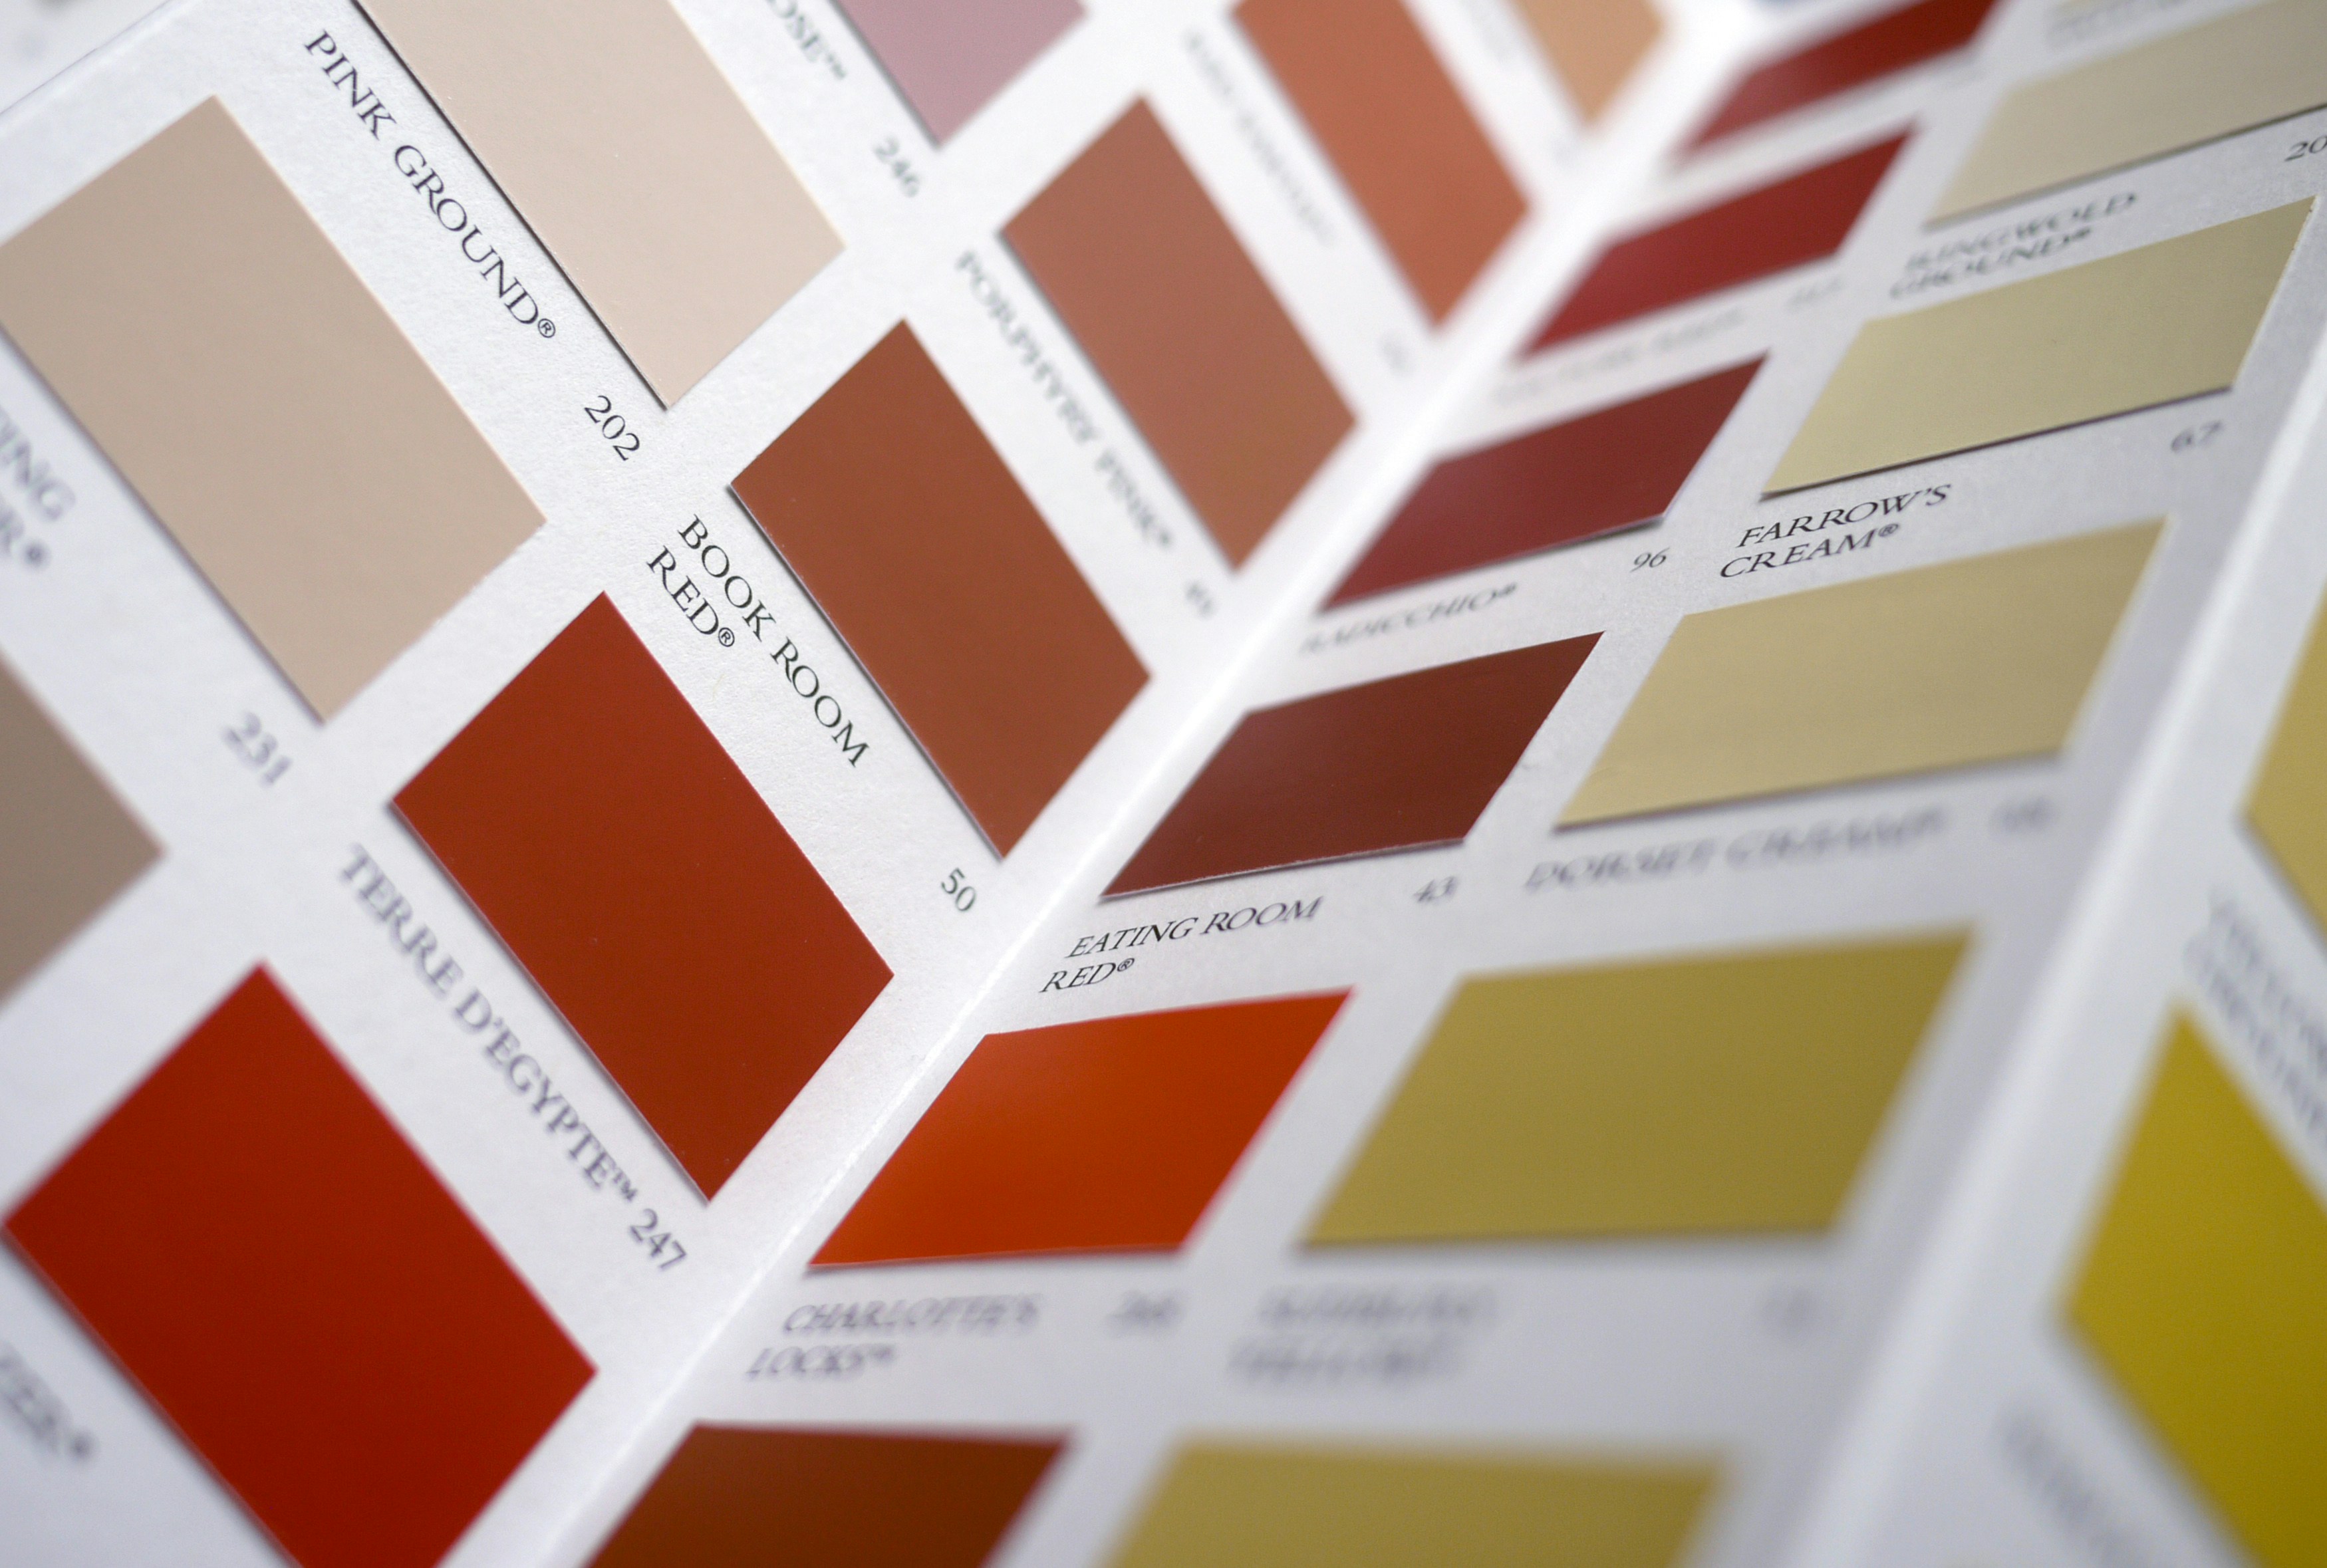
Le probleme des sous-tons
Chaque couleur de peinture a des sous-tons. Un grege peut reveler des sous-tons violets, verts ou roses sur votre mur. Comment les identifier : comparez l’echantillon a un blanc pur ou un gris pur. Choisissez des couleurs avec des sous-tons marron ou gris chaud — les plus indulgents et les plus faciles a vivre.
Le choix de la finition
Mat/plat (pas de brillance, cache le mieux les imperfections, le moins durable), satine (leger eclat 10-15%, le cheval de trait pour la plupart des murs), satin (eclat modere 25-35%, pour cuisines et salles de bain), semi-brillant et brillant (tres durable, pour boiseries et portes).
La realite du budget
Peindre une piece soi-meme coute 50-150 euros en materiel. Engager un professionnel coute 300-800 euros par piece. Le plus important n’est pas le pinceau le plus cher — c’est la preparation.

Recommandations piece par piece detaillees
Salon : Un neutre chaud. Benjamin Moore Pale Oak, Sherwin-Williams Accessible Beige ou Farrow and Ball School House White. Le salon est l’endroit ou vous passez le plus d’heures eveillees — il doit etre calme, accueillant et facile a vivre.
Cuisine : Blanc ou un neutre tres clair. Les cuisines ont deja une complexite visuelle avec les meubles, l’electromenager et les plans de travail. Un blanc propre (Benjamin Moore Chantilly Lace) ou blanc chaud (White Dove) laisse ces elements briller. Si vous voulez de la couleur, ajoutez-la via un ilot peint ou une credence plutot que les quatre murs.
Chambre : Une couleur apaisante et enveloppante. Des bleu-vert doux (Farrow and Ball Pigeon), des gris chauds, des lavandes poussiereuses ou des verts sauge doux. Les chambres doivent etre reposantes et intimes — des couleurs legerement plus sombres peuvent creer une atmosphere plus propice au sommeil.
Salle de bain : Claire et propre, mais pas austere. Un blanc chaud ou un gris-vert tres clair. Les salles de bain sont generalement petites et beneficient de couleurs plus claires qui les font paraitre plus grandes. Evitez les couleurs sombres dans les salles de bain sans fenetre.
Bureau a domicile : La couleur qui vous aide a vous concentrer. Pour la plupart des gens, c’est un bleu doux ou un vert sauge. Pour le travail creatif, une couleur legerement plus energique — vert sauge, terre cuite chaude ou meme un moutarde doux.
Le choix de la finition
Mat/plat (pas de brillance, cache le mieux les imperfections, le moins durable — pour les plafonds et les chambres d’adultes), satine (leger eclat, le cheval de trait pour la plupart des murs — pour les salons, salles a manger, chambres), satin (eclat modere, plus durable et lavable — pour les cuisines, salles de bain, chambres d’enfants), semi-brillant et brillant (tres durable, resistant a l’humidite — pour les boiseries, portes, meubles).
La realite du budget
Peindre une piece soi-meme coute 50-150 euros en materiel (sous-couche, peinture, pinceaux, rouleaux, ruban de masquage, baches) plus 4-8 heures de travail. Engager un professionnel coute 300-800 euros par piece. La preparation est la cle — scotchez soigneusement, bouchez les trous, poncez les surfaces rugueuses et nettoyez les murs avant de peindre. La qualite de la preparation determine la qualite du resultat final plus que la marque de peinture. Et surtout, ne sautez pas les echantillons. Testez sur vos vrais murs, observez pendant deux jours, puis decidez.
Erreurs courantes de peinture a eviter
Ne pas tester avant de peindre — c’est l’erreur numero un. Regarder un echantillon dans le magasin et commander trois pots sans tester sur le mur est la raison de la plupart des regrets de peinture. Les pots d’echantillon coutent 5-8 euros chacun et vous evitent des erreurs a 100 euros et plus.
Choisir une couleur trop foncee pour une petite piece — les couleurs sombres absorbent la lumiere et peuvent donner l’impression qu’une petite piece est encore plus petite. Si vous voulez une couleur profonde dans un petit espace, utilisez-la comme mur d’accent et gardez les autres murs clairs.
Ignorer les sous-tons — chaque couleur a des sous-tons qui emergent selon l’eclairage. Un gris peut reveler des sous-tons violets, verts ou bleus. Comparez toujours l’echantillon a un blanc pur pour identifier les sous-tons avant d’acheter.
Oublier le plafond — un plafond blanc eclatant contre des murs chauds peut sembler decale. Envisagez de peindre le plafond dans une version eclaircie de la couleur des murs pour une transition plus douce. Un plafond peint dans un blanc chaud (plutot qu’un blanc pur) est plus flatteur dans la plupart des pieces.