Les vieux meubles sont souvent mieux fabriques que tout ce qu’on peut acheter neuf a prix comparable. Le bois massif, les assemblages a queue d’aronde et les finitions appliquees a la main etaient la norme dans la fabrication de meubles du milieu du siecle. Aujourd’hui, ces caracteristiques commandent des prix eleves. Le marche est inonde de meubles en panneaux de particules bon marche qui s’affaissent, s’ecaillent et echouent en quelques annees. Les bonnes pieces vintage, en revanche, ont deja prouve leur durabilite — elles ont survecu des decennies et, correctement restaurees, survivront des decennies de plus.
La restauration de meubles est plus facile que la plupart des gens ne le supposent. Les techniques sont simples. Les outils sont abordables. Et la satisfaction de transformer une piece negligee en quelque chose de beau est authentique. Voici comment commencer.
Trouver des pieces qui valent la peine d’etre restaurees
Ou chercher : Facebook Marketplace (recherchez bois massif et filtrez par prix), les ventes de succession (le dernier jour est celui ou les prix baissent), les friperies, les vide-greniers et — la meilleure source — la famille et les amis qui demenagent et veulent se debarrasser de meubles.
Ce qu’il faut rechercher : Une construction en bois massif. Enfoncez votre ongle dans une zone peu visible — si cela laisse une marque, c’est probablement du placage sur agglomere. Verifiez le dos et le dessous — le bois massif montrera un grain coherent. Les assemblages a queue d’aronde sur les tiroirs indiquent une construction de qualite.
Ce qu’il faut eviter : Les panneaux de particules et le MDF (ne peuvent pas etre ponces ou refinis efficacement), les dommages structurels graves (pieds de chaise fendus, joints de cadre casses), et tout ce qui a une forte odeur de moisi indiquant des moisissures (ne peut pas etre eliminee de maniere fiable). Les degats d’eau ayant provoque un gonflement ou une delamination sont generalement terminaux.
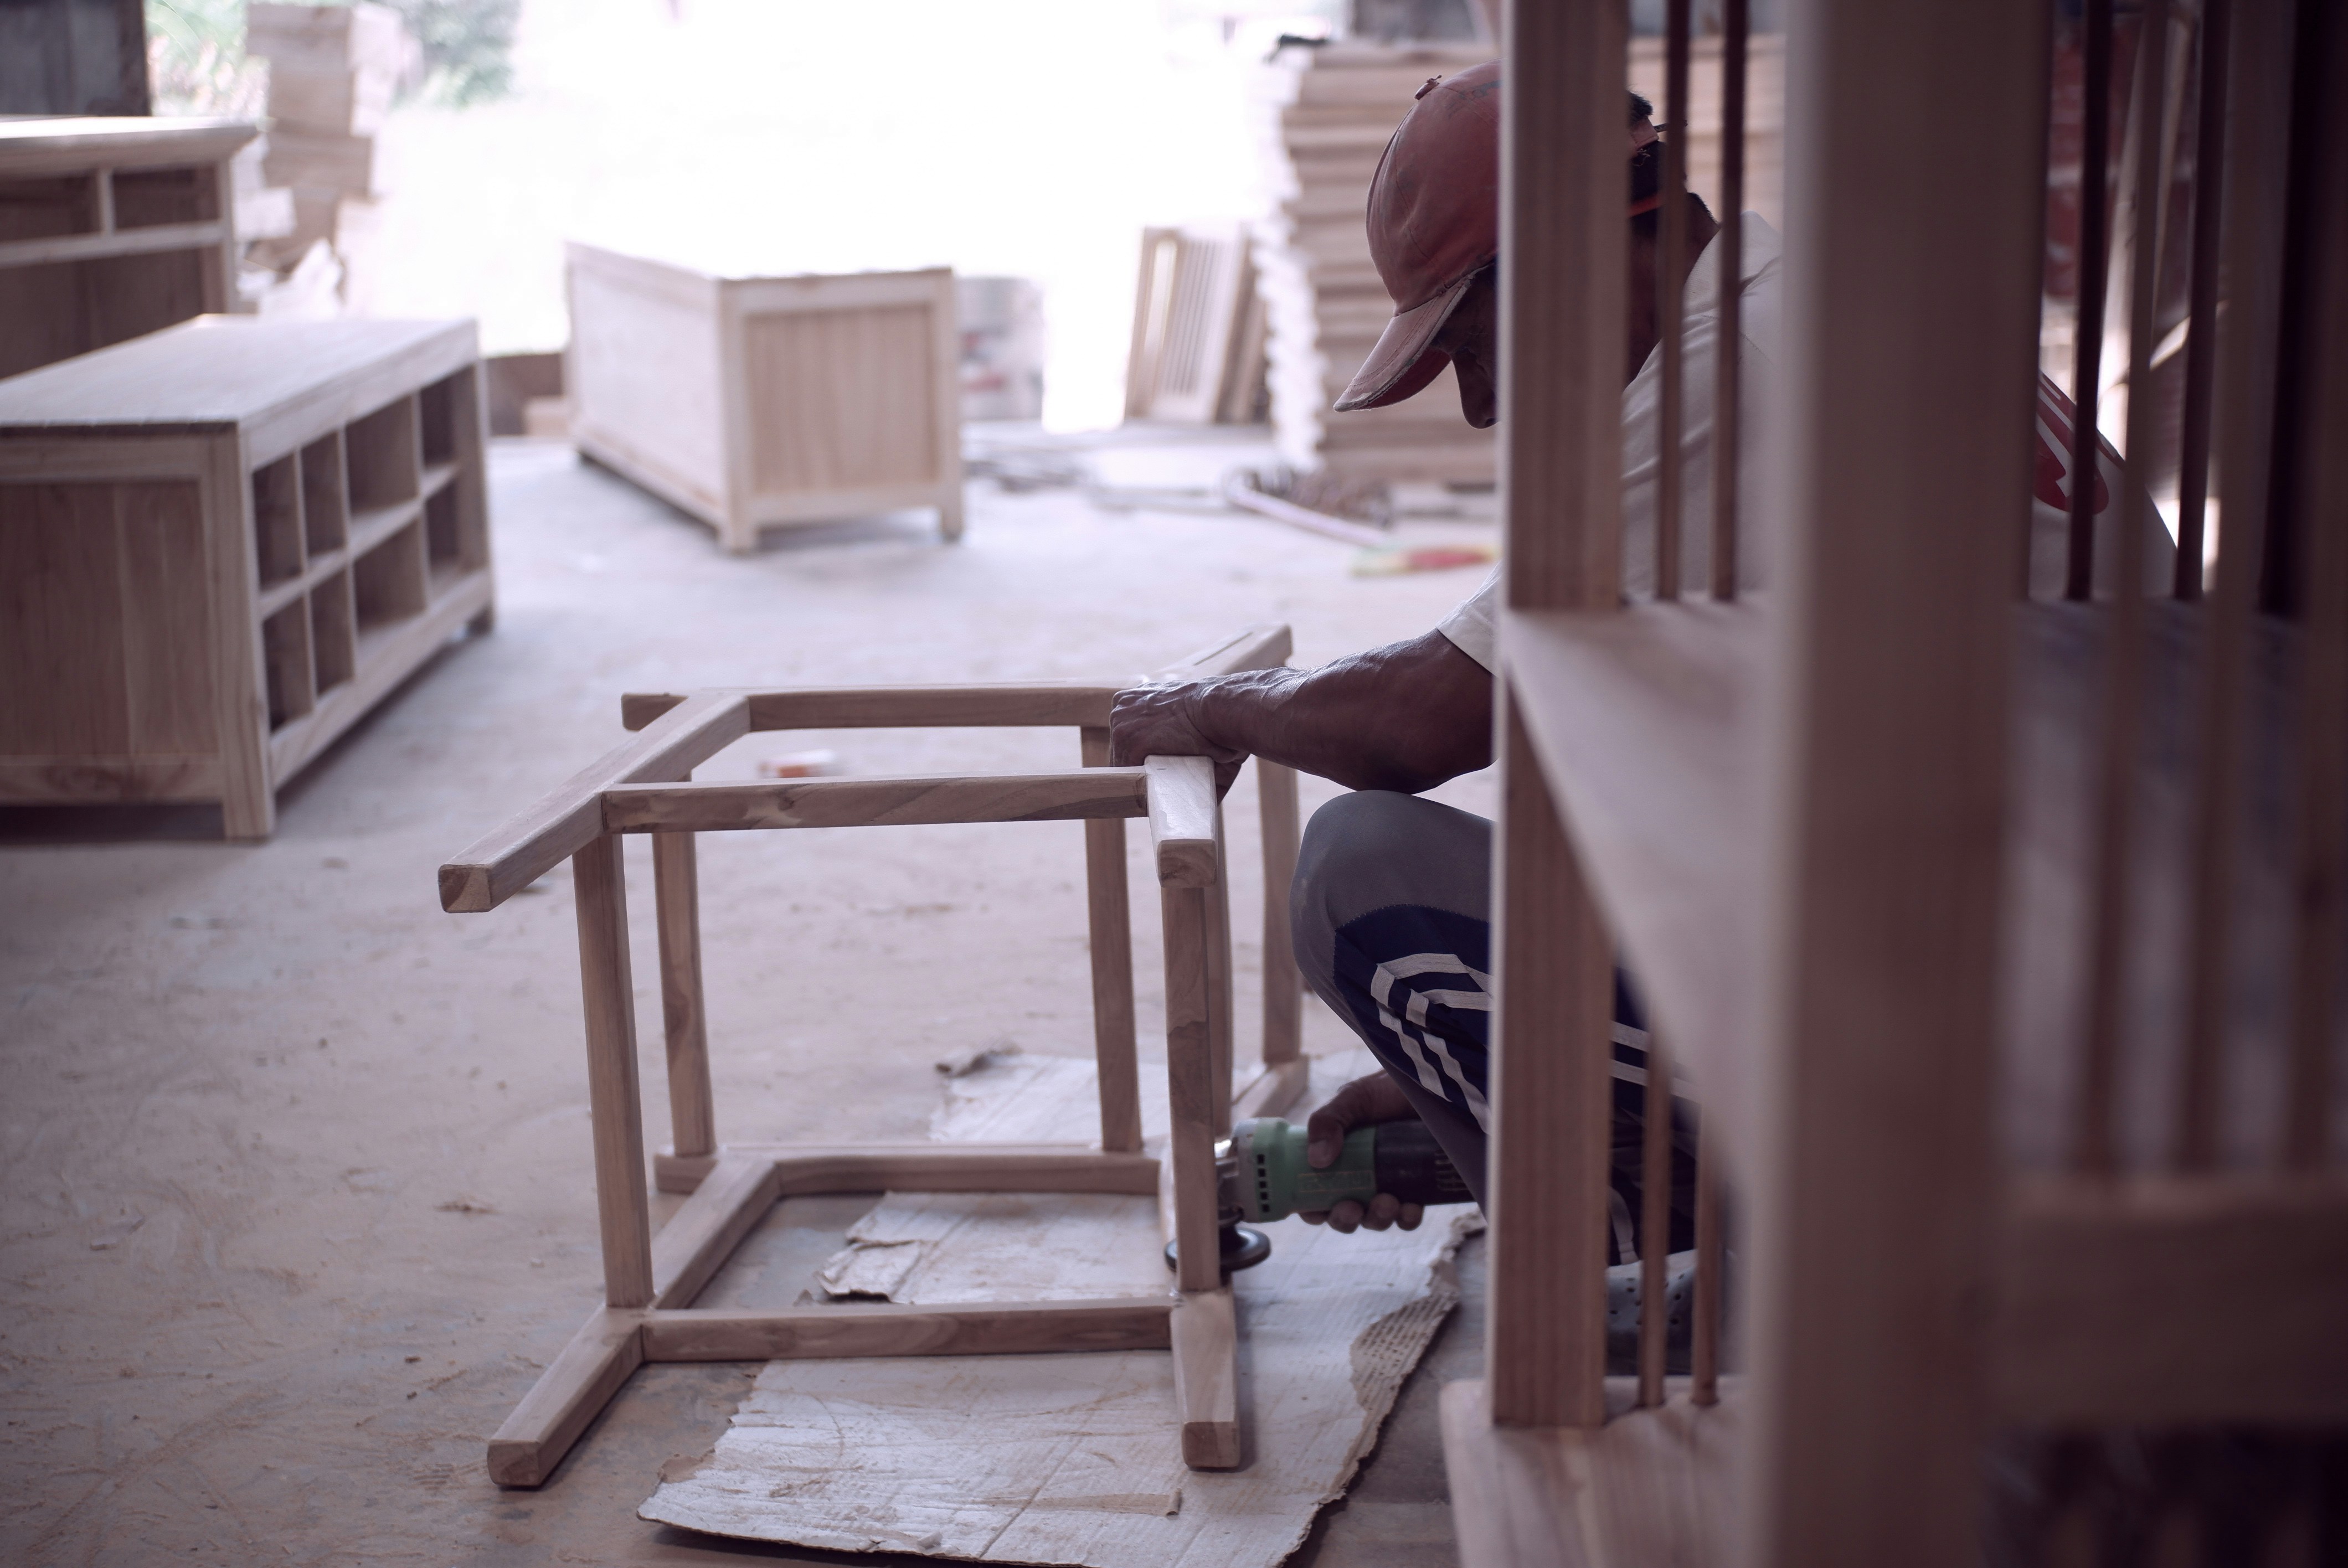
Les outils essentiels
Une boite a outils complete de restauration de meubles coute environ 100-150 euros et comprend : une ponceuse orbitale (40-60 euros, l’outil electrique le plus important), du papier de verre en grains varies (80 pour enlever l’ancienne finition, 120 pour lisser, 220 pour la finition), des pinceaux (un pinceau biseaute de 5 cm pour les details et un petit rouleau en mousse pour les grandes surfaces planes), des tournevis et un maillet en caoutchouc, de la pate a bois pour les petits trous et fissures, des chiffons collants pour enlever la poussiere de poncage, et un equipement de securite (masque anti-poussiere, lunettes de securite et gants jetables).
Le processus
Etape 1 : Nettoyer
Avant de faire quoi que ce soit d’autre, nettoyez soigneusement la piece. Des decennies de salete, de cire, de nicotine et de crasse s’accumulent sur les vieux meubles. Une solution d’eau tiede et d’une petite quantite de savon a vaisselle doux, appliquee avec un chiffon doux ou une eponge, elimine la crasse de surface. Pour les accumulations tenaces, des essences minerales sur un chiffon coupent la cire et l’huile. Laissez la piece secher completement avant de continuer.
Etape 2 : Evaluer et reparer
Examinez la piece pour les problemes structurels. Resserrez les vis desserrees. Collez les joints laches avec de la colle a bois (serrez jusqu’a ce que ce soit sec). Remplissez les petits trous et fissures avec de la pate a bois. Remplacez la quincaillerie manquante ou cassee.
Etape 3 : Decaper ou poncer l’ancienne finition
Vous avez deux options. Le poncage est l’approche la plus courante : commencez avec du papier grain 80 sur une ponceuse orbitale, progressez au grain 120, terminez au grain 220. Poncez toujours dans le sens du fil du bois. Le decapage chimique est plus rapide pour les pieces avec des details complexes ou des finitions epaisses et tenaces. Appliquez le decapant au pinceau, attendez le temps recommande, raclez la finition ramollie. Travaillez a l’exterieur ou dans un endroit bien ventile.
Etape 4 : Choisir votre finition
La peinture est la finition la plus facile et la plus transformatrice. La peinture craie est adaptee aux debutants mais necessite une couche de finition protectrice. La teinture rehausse le grain naturel du bois. Appliquez au chiffon ou au pinceau, essuyez l’exces apres quelques minutes. La finition transparente (polyurethane, huile danoise ou cire) protege le bois tout en preservant son aspect naturel. Le polyurethane est le plus durable ; l’huile danoise offre un aspect plus naturel ; la cire est la moins durable mais la plus facile a appliquer.
Etape 5 : Appliquer la finition
Pour la peinture : appliquez d’abord une sous-couche, puis 2-3 couches fines, en poncant legerement entre les couches. Pour la teinture : appliquez au chiffon, essuyez l’exces, laissez secher, et appliquez 2-3 couches de polyurethane transparent pour la protection. Pour la finition transparente : appliquez des couches fines et uniformes. Plusieurs couches minces produisent un meilleur resultat qu’une couche epaisse.
Les erreurs les plus courantes des debutants
Sauter la preparation — la qualite de la finition finale est determinee par la qualite de la preparation. Appliquer la finition trop epaisse — plusieurs couches minces sont toujours meilleures. Impatience entre les couches — laissez chaque couche secher completement. Ne pas proteger la zone de travail — la poussiere de poncage et les vapeurs de peinture voyagent.
Le premier projet
Commencez par quelque chose de petit et d’indulgent : une chaise en bois, une table d’appoint ou un cadre photo. Ces projets enseignent les fondamentaux — poncage, reparation, finition — sans l’engagement d’un grand meuble. Reussissez un petit projet, et vous aurez la confiance necessaire pour vous attaquer a de plus grandes pieces. Les meubles qui vous entourent faconnent votre experience quotidienne de la maison. Restaurer une piece vous-meme vous connecte a cet objet d’une facon que l’achat de neuf ne pourra jamais faire.