La question “quel appareil photo dois-je acheter pour voyager ?” n’a jamais eu de reponse plus compliquee — ni plus simple. La reponse compliquee implique les tailles de capteur, les focales, les ecosystemes d’objectifs et des comparaisons au niveau du pixel sur lesquelles vous pouvez passer des mois a faire des recherches. La reponse simple est : le meilleur appareil photo de voyage est celui que vous porterez et utiliserez reellement, et pour la plupart des gens, cet appareil est deja dans votre poche.
Les telephones phares modernes (iPhone 16 Pro, Samsung Galaxy S25 Ultra, Google Pixel 9 Pro) produisent des images qui, en bonne lumiere, sont indiscernables de celles d’appareils dedies dans la grande majorite des contextes de visualisation (ecrans de telephone, reseaux sociaux, voire impressions de taille moderee). Ils tiennent aussi dans votre poche, ne necessitent aucun equipement supplementaire et sauvegardent automatiquement vos photos dans le cloud. Pour la plupart des voyageurs, le telephone est la bonne reponse.
Mais si vous voulez plus de controle creatif, de meilleures performances en basse lumiere ou la possibilite de faire de grands tirages, un appareil photo dedie a toujours un avantage significatif. Voici comment en choisir un sans tomber dans le piege de l’accumulation d’equipement qui vous laisse porter du materiel lourd que vous n’utilisez jamais.
Le kit telephone uniquement
Pour qui : 90% des voyageurs. Si vous n’etes pas sur d’avoir besoin d’un appareil photo dedie, vous n’en avez pas besoin. Votre telephone est plus leger, toujours avec vous, et produit des images plus que suffisantes pour le partage, la conservation de souvenirs et des impressions de taille moderee (jusqu’a environ 28 x 35 cm depuis un telephone phare moderne en bonne lumiere).
Accessoires cles (optionnels, ajoutent un poids minimal) : Un petit trepied pour telephone comme le Joby GorillaPod Mobile (30 euros) pour des poses longues stables, des autoportraits et des timelapses. Un objectif a clipser pour des prises de vue ultra grand-angle ou macro (les objectifs Moment sont la marque etablie, 80-120 euros). Une batterie externe portable — utiliser votre telephone comme appareil photo toute la journee vide la batterie nettement plus vite.
La limitation : Votre telephone a trois focales fixes (si vous avez de la chance — les objectifs grand-angle, ultra grand-angle et telephoto sur les modeles Pro). Vous ne pouvez pas changer l’objectif, vous ne pouvez pas controler la profondeur de champ au-dela du mode Portrait, et les performances en basse lumiere, bien que considerablement ameliorees, restent en retrait par rapport aux appareils a capteur plus grand.
Le kit un appareil, un objectif
Pour qui : Les voyageurs qui veulent une qualite d’image et un controle creatif nettement meilleurs qu’un telephone, sans transporter un sac d’objectifs. C’est le juste milieu pour la photographie de voyage — assez leger pour etre transporte partout mais capable d’images qui justifient le poids.
L’appareil : Un hybride compact avec un capteur APS-C (plus grand que votre telephone, plus petit que le plein format) et un objectif fixe ou un zoom compact. Les specifications cles : assez petit pour tenir dans une poche de veste ou un petit sac, une mise au point automatique assez rapide pour capturer des moments spontanes, et assez agreable a utiliser pour que vous ayez envie de le sortir.
Configurations recommandees. Le Fujifilm X100VI (1 600 euros, objectif fixe 23mm f/2 — equivalent 35mm) est la licorne de la photographie de voyage : l’objectif fixe le plus polyvalent, la science des couleurs legendaire de Fujifilm, un obturateur a feuilles presque silencieux et un filtre ND integre. Limite par l’objectif fixe. Le Ricoh GR IIIx (1 000 euros, objectif fixe 40mm f/2.8) est encore plus petit — veritablement pocketable. Le Sony a6700 (1 400 euros boitier nu) avec le Sigma 18-50mm f/2.8 (500 euros) offre un zoom polyvalent.
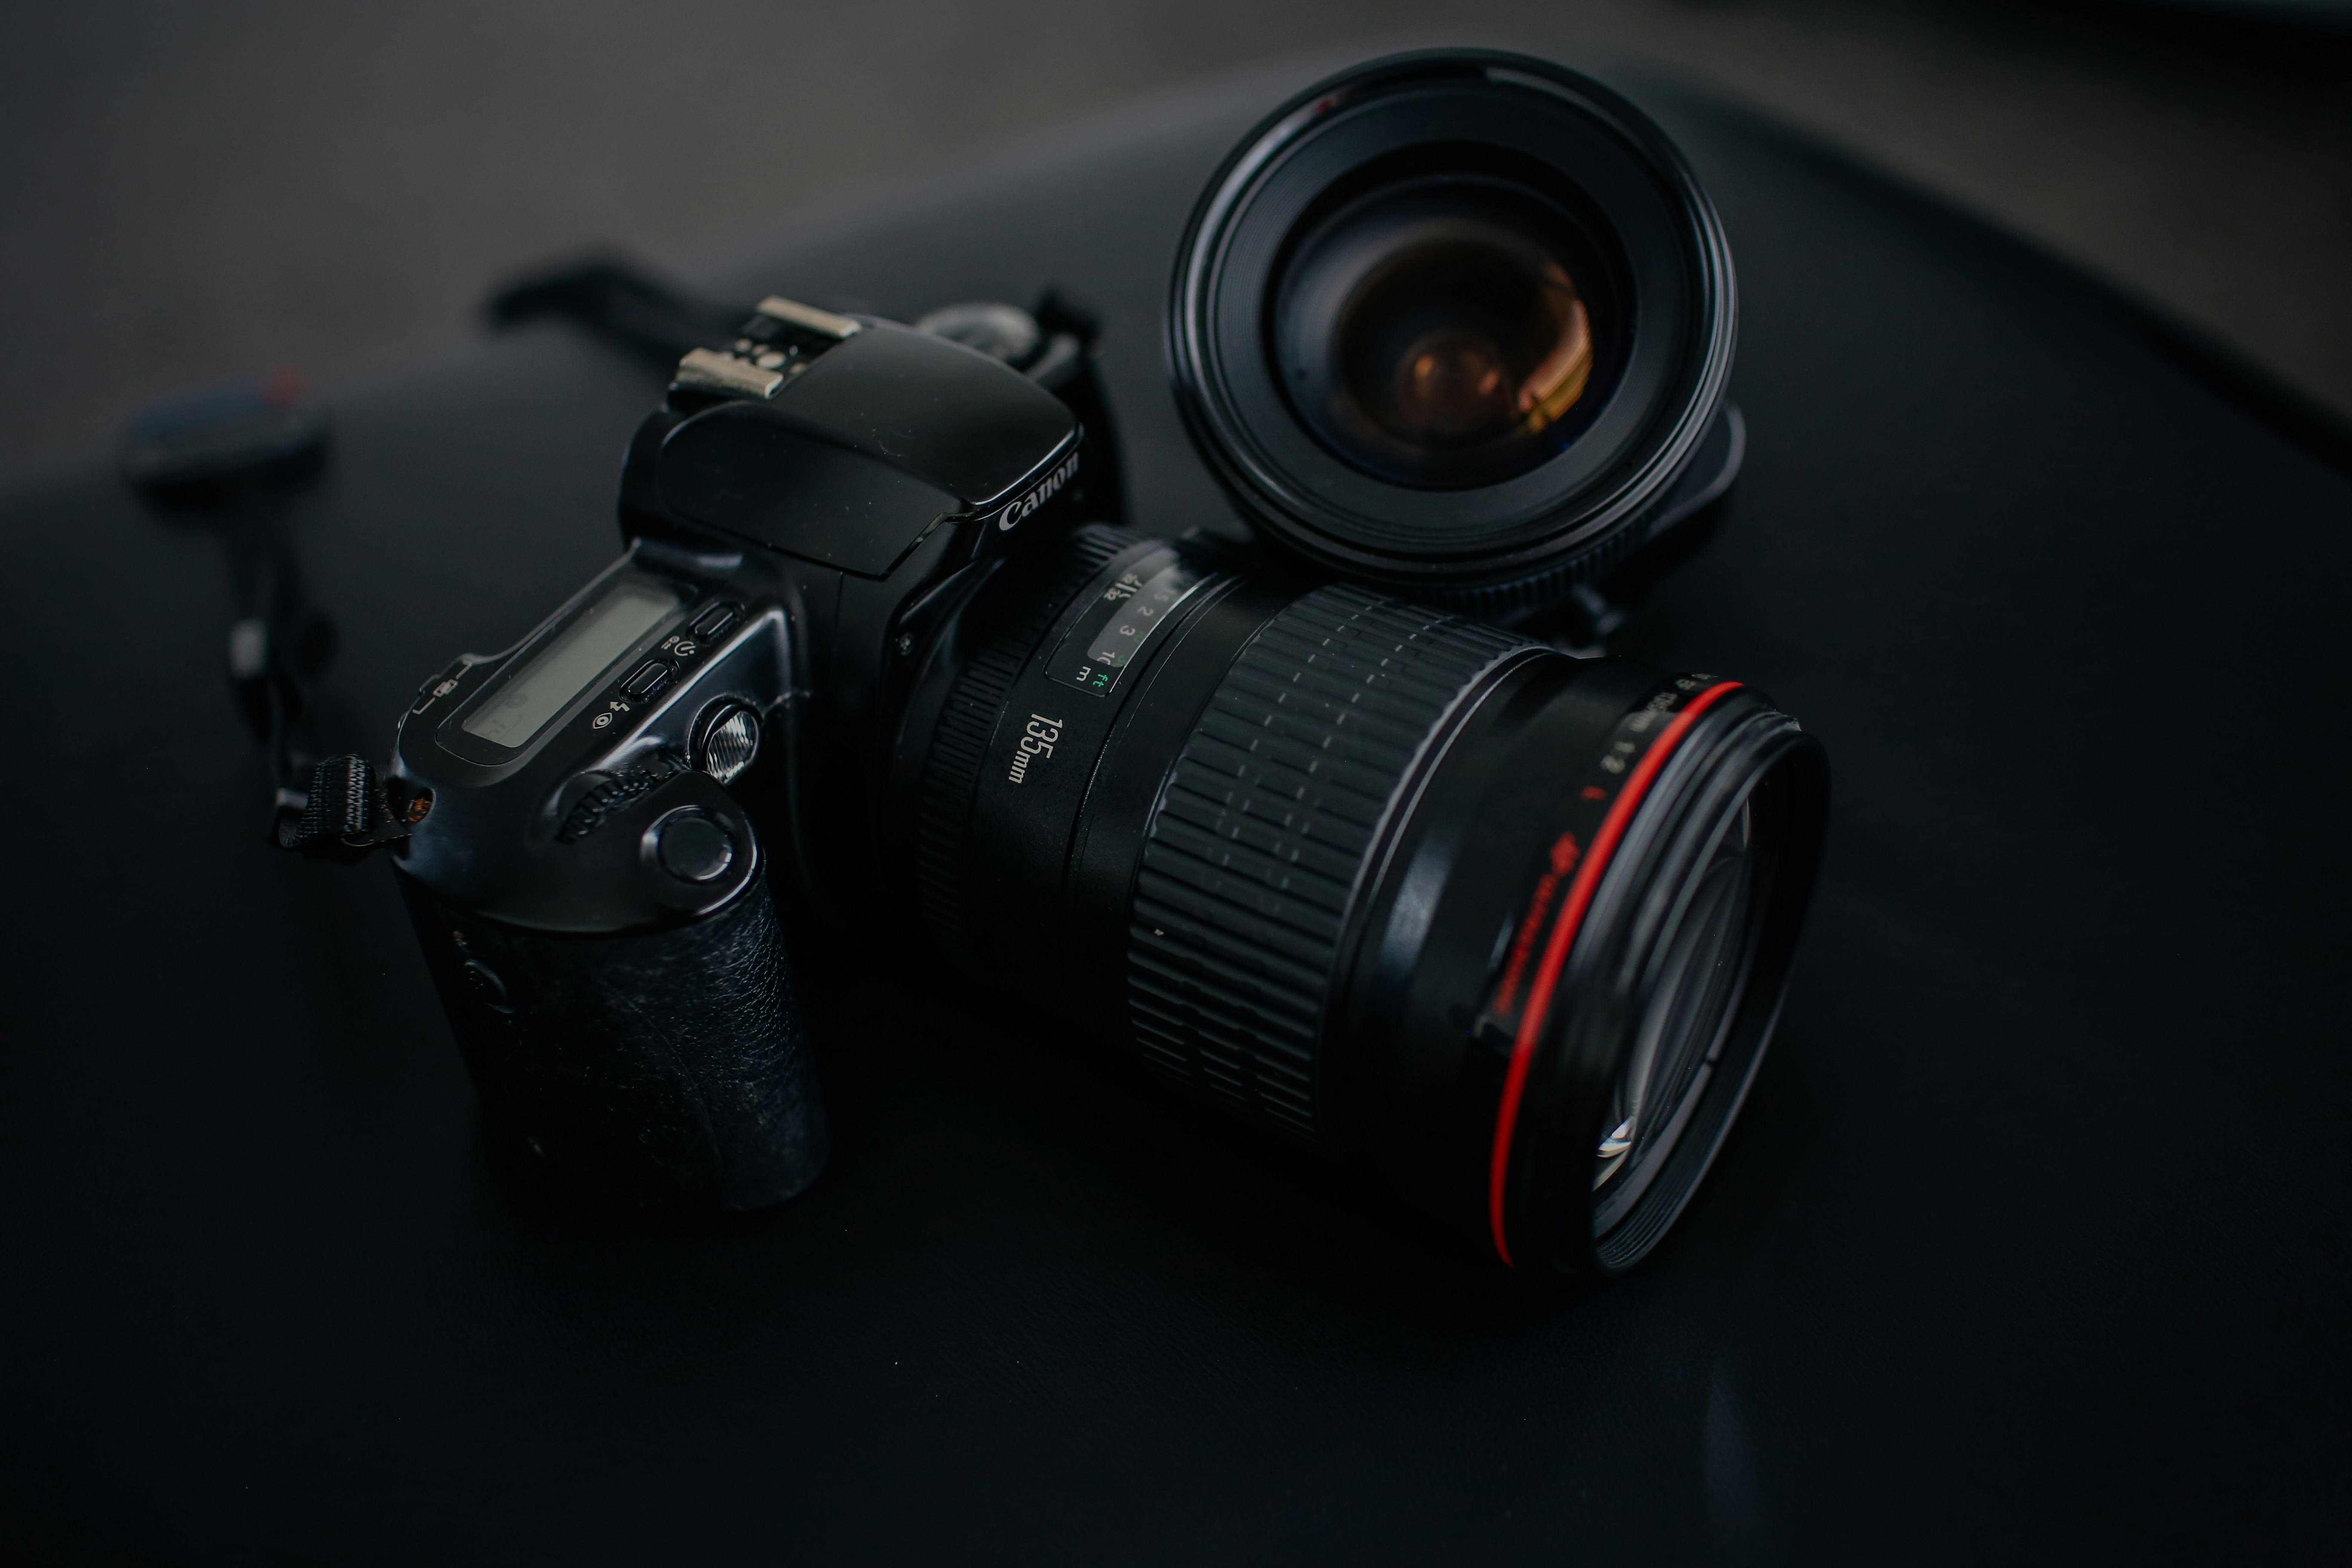
Le kit deux objectifs
Pour qui : Les photographes passionnes prets a porter plus de poids pour plus d’options creatives. Un boitier hybride plein format (Sony a7C II, Nikon Zf ou Canon R8) avec deux objectifs : un zoom standard pour un usage general et une focale fixe lumineuse pour la basse lumiere et les portraits.
Ce qu’il faut laisser
L’objectif “au cas ou”, le trepied grand format, le sac photo qui ressemble a un sac photo, l’ordinateur portable sauf si vous travaillez.
Accessoires qui comptent vraiment
Des batteries supplementaires (2-3 au total), un chiffon en microfibre, un petit lecteur de carte pour votre telephone, le Peak Design Capture Clip (75 euros) qui fixe votre appareil a la sangle de votre sac a dos.
La vraie question
Avant d’acheter du materiel photo, demandez-vous ce que vous allez reellement faire des photos. Si la reponse est les publier sur Instagram et les partager avec vos amis et votre famille, votre telephone est reellement suffisant. Si la reponse est faire de grands tirages, photographier en lumiere difficile ou avoir un controle creatif sur la profondeur de champ, un appareil dedie merite d’etre considere. Commencez avec un kit un appareil, un objectif et ajoutez du materiel uniquement quand vous rencontrez une limitation specifique.
Le kit deux objectifs en detail
Pour les photographes passionnes qui veulent des options creatives plus serieuses. Le boitier : un hybride plein format (Sony a7C II, Nikon Zf ou Canon R8) avec deux objectifs. Configuration recommandee : Sony a7C II (2 200 euros boitier nu) avec le Sony 24-50mm f/2.8 G (1 100 euros) et le Sony 40mm f/2.5 G (600 euros). C’est le kit de voyage compact en plein format : l’a7C II est parmi les plus petits boitiers plein format disponibles, le 24-50mm couvre la plage essentielle en bonne lumiere, et le minuscule 40mm f/2.5 est la pour les soirees, les interieurs et chaque fois que vous voulez une separation du sujet. Poids total sous 1,3 kg — lourd pour un sac a bandouliere mais entierement gerable pour un photographe de voyage dedie.
Alternative : Fujifilm X-T5 (1 700 euros boitier nu) avec le Fuji 16-55mm f/2.8 (1 200 euros, equivalent 24-83mm) et le Fuji 33mm f/1.4 (800 euros, equivalent 50mm). Pour ceux qui preferent la science des couleurs de Fujifilm et les commandes de style analogique. Le capteur APS-C de 40 megapixels du X-T5 produit des fichiers d’un detail extraordinaire.
Ce qu’il faut laisser
L’objectif au cas ou : cet ultra grand-angle que vous pourriez utiliser une fois pour un interieur de cathedrale, ou le teleobjectif dont vous pourriez avoir besoin pour un detail eloigne. Si un objectif represente moins de 5% de vos photos, il ne merite pas sa place dans votre sac. Le trepied grand format : sauf si vous faites specifiquement de l’astrophotographie ou des paysages a pose longue, un trepied complet est du poids mort. Un trepied de table gere 90% des besoins a 10% du poids. Le sac photo qui ressemble a un sac photo : un sac qui telegraphie appareil photo cher a l’interieur est un passif. Utilisez un sac messenger ordinaire avec un insert rembourre pour appareil photo (Tenba BYOB ou similaire, 30-50 euros). L’ordinateur portable sauf si vous travaillez. Si votre photographie est pour un usage personnel et les reseaux sociaux, editez sur votre telephone.
Accessoires qui comptent vraiment
Des batteries supplementaires (2-3 au total, y compris celle dans l’appareil). Les hybrides consomment les batteries plus vite que les reflex. Ayez toujours au moins une batterie de rechange completement chargee. Un chiffon en microfibre : l’accessoire le plus leger avec le plus grand impact. Un objectif propre fait la difference entre une image nette et une image floue. Un petit lecteur de carte pour votre telephone : le moyen le plus rapide de transferer des photos de l’appareil au telephone pour des modifications rapides et le partage. Le lecteur de carte SD Lightning/USB-C d’Apple (29 euros) elimine la friction du transfert. Le Peak Design Capture Clip (75 euros) fixe votre appareil a la sangle de votre sac a dos, le gardant instantanement accessible sans se balancer autour de votre cou. Cet accessoire unique transforme l’experience de porter un appareil photo en marchant ou en randonnee.
La vraie question
Avant d’acheter du materiel photo, demandez-vous ce que vous allez reellement faire des photos. Si la reponse est les publier sur Instagram et les partager avec vos amis et votre famille, votre telephone est reellement suffisant. Les telephones phares les plus recents produisent des images qui, vues sur un ecran de telephone ou un fil de reseaux sociaux, sont quasiment impossibles a distinguer de celles d’appareils dedies coutant des milliers d’euros. Si la reponse est faire de grands tirages, photographier en lumiere difficile ou avoir un controle creatif sur la profondeur de champ et la perspective, un appareil dedie merite d’etre considere. Commencez avec un kit un appareil, un objectif et ajoutez du materiel uniquement quand vous rencontrez une limitation specifique que du materiel supplementaire resoudrait. La meilleure configuration de photographie de voyage est celle qui vous permet d’etre present dans l’endroit que vous photographiez.