Le meilleur appareil photo est celui que vous avez avec vous. Pour la plupart des gens, c’est un smartphone — et les telephones phares modernes produisent des images rivalisant avec celles d’appareils dedies coutant des milliers d’euros il y a seulement une decennie. Le capteur d’un iPhone 16 Pro ou d’un Samsung Galaxy S25 Ultra capture plus de details qu’un reflex professionnel de 2010. La difference entre une bonne photo et une excellente n’est plus une question de materiel — c’est une question de technique.
Ce guide couvre les principes, les techniques et les pratiques d’edition qui elevent les photos de smartphone du simple instantane a des images que vous seriez fier d’imprimer, d’encadrer ou de partager.
Les principes (ceux-la s’appliquent a tout appareil photo)
1. La lumiere est primordiale
La photographie est litteralement “dessiner avec la lumiere”. La qualite de la lumiere determine la qualite de votre photo plus que tout autre facteur. Une excellente lumiere fait qu’un appareil mediocre parait excellent. Une mauvaise lumiere fait que n’importe quel appareil peine.
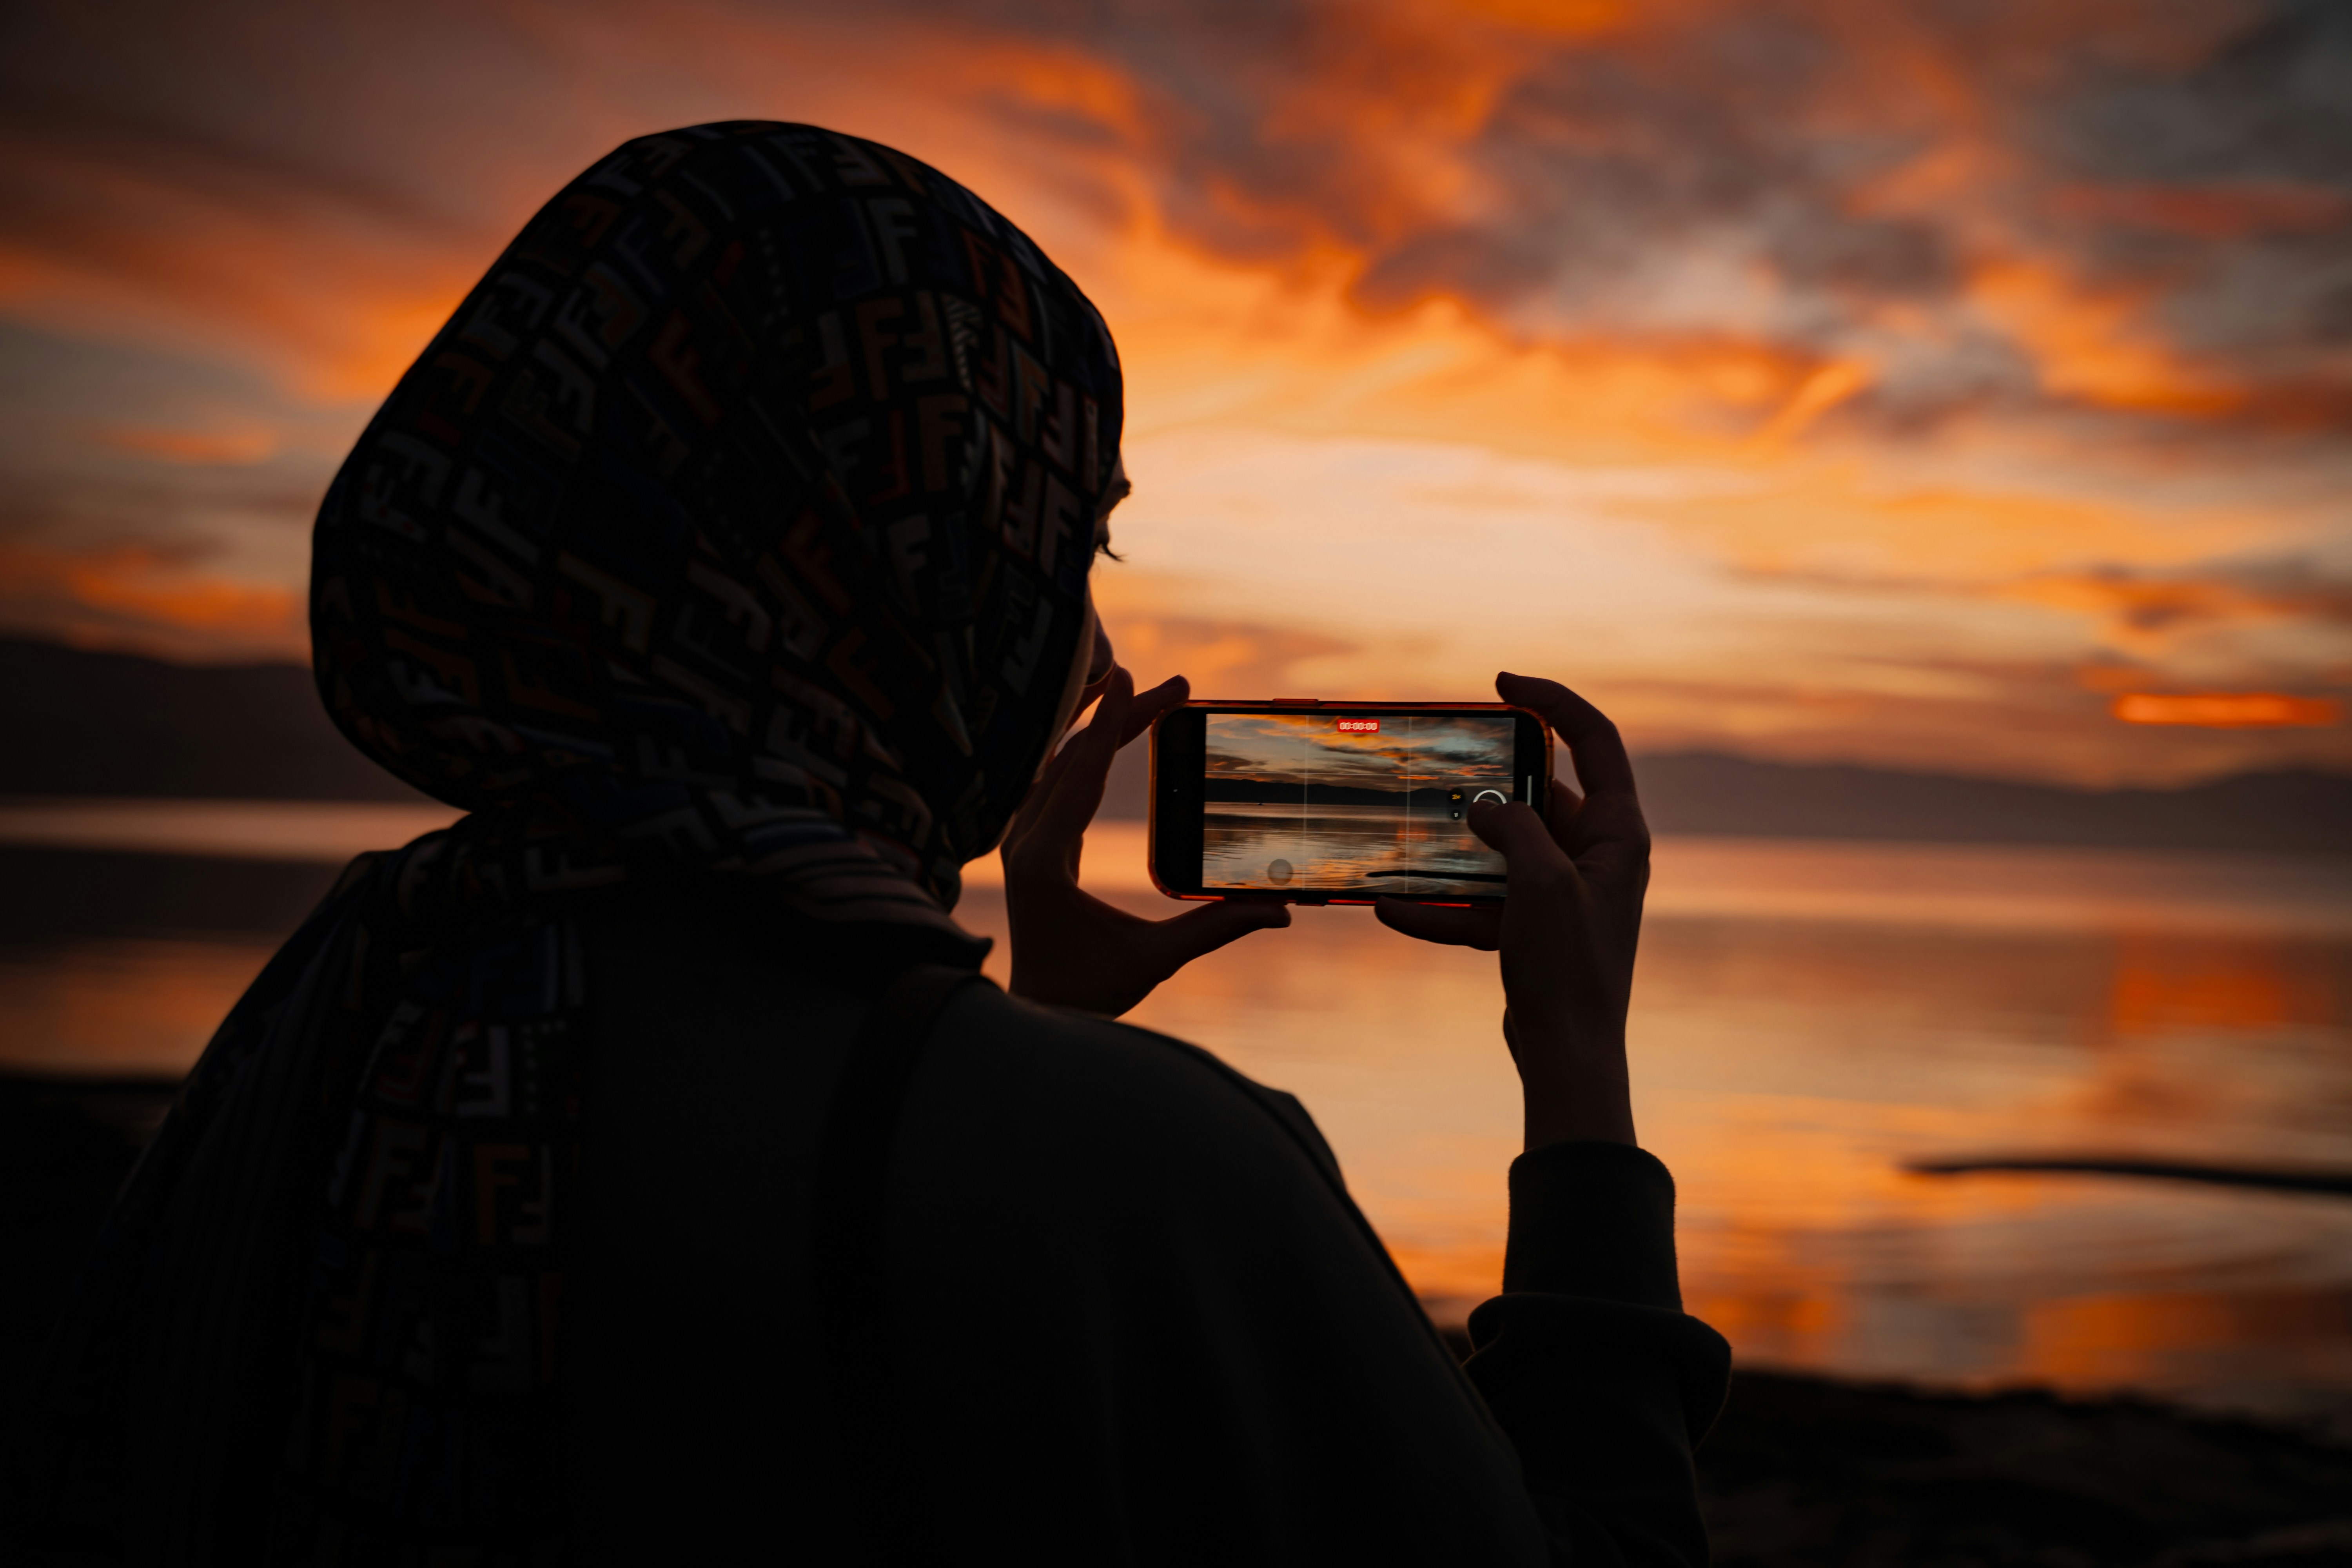
L’heure doree : L’heure apres le lever du soleil et l’heure avant le coucher du soleil produisent une lumiere chaude, directionnelle et flatteuse qui rend tout meilleur. Planifiez vos photos d’exterieur autour de ces fenetres chaque fois que possible. Des applications comme Golden Hour et Sun Seeker predisent exactement quand l’heure doree se produit a votre emplacement.
Le probleme de midi : La lumiere directe du soleil au-dessus de la tete (environ 11h-14h) cree des ombres dures sur les visages et delave les couleurs. Si vous devez photographier a midi, cherchez l’ombre ouverte — l’ombre projetee par un batiment, un arbre ou un auvent.
La lumiere interieure : La lumiere de fenetre est la meilleure amie du photographe a l’interieur. Positionnez votre sujet face a une fenetre (pas dos a elle) pour une lumiere douce et flatteuse. Evitez les plafonniers — ils projettent des ombres peu flatteuses vers le bas sur les visages.
2. La composition : la ou vous placez les choses compte
La regle des tiers : Imaginez une grille de morpion sur votre cadre. Placez l’element le plus important de votre photo a l’une des quatre intersections des lignes de la grille, pas au centre. La plupart des appareils photo de telephone ont une option de superposition de grille — activez-la et laissez-la activee.
Les lignes directrices : Utilisez les lignes naturelles de la scene — une route, une cloture, un rivage, un couloir — pour guider l’oeil du spectateur vers votre sujet.
L’espace negatif : L’espace vide autour de votre sujet n’est pas gaspille — il donne au sujet de l’espace pour respirer et cree une sensation de calme et d’intentionnalite.
L’interet au premier plan : Inclure quelque chose au premier plan — une plante, une porte, un cadre de fenetre — cree de la profondeur et donne au spectateur l’impression de regarder dans la scene plutot que de la regarder.
3. N’utilisez pas le zoom numerique
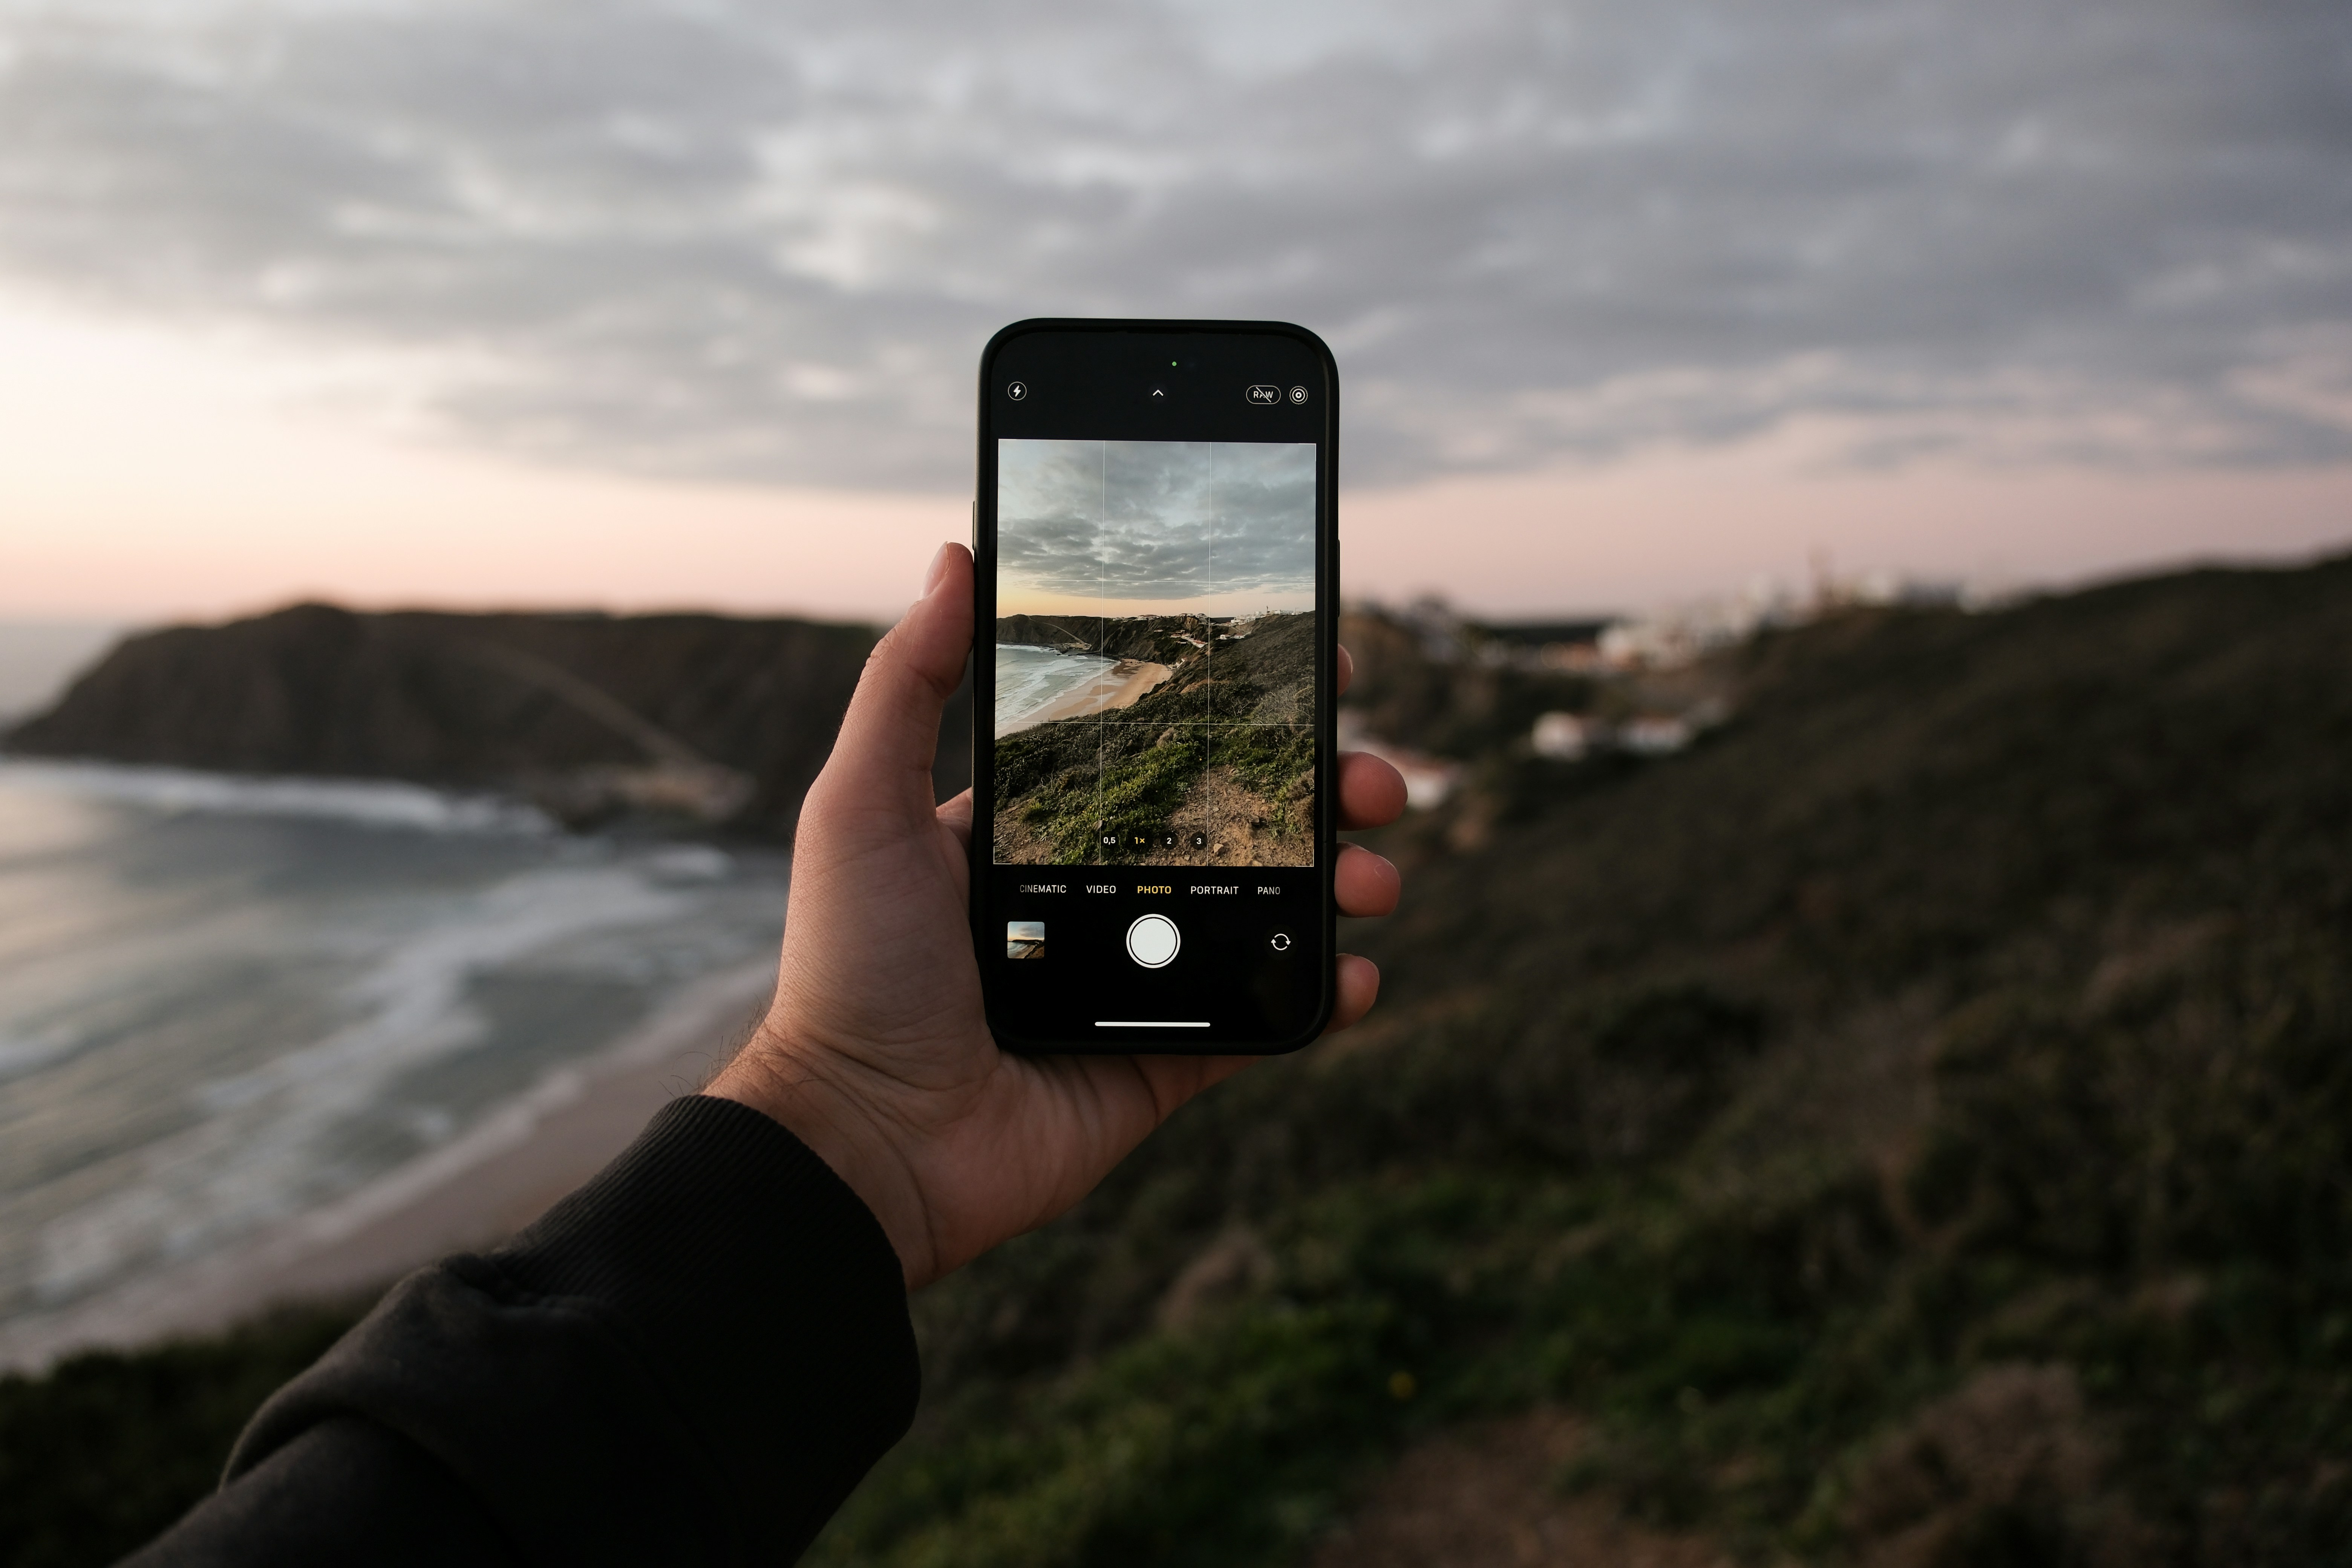
Le zoom numerique est un recadrage — il jette des pixels et agrandit le reste. Au lieu de zoomer, rapprochez-vous de votre sujet. Si vous ne pouvez pas vous rapprocher, prenez la photo au reglage optique le plus large disponible et recadrez-la plus tard en edition. La plupart des telephones phares ont maintenant plusieurs appareils photo — grand-angle, ultra grand-angle et teleobjectif. Restez sur les focales natives (0,5x, 1x, 2x, 3x ou 5x) pour utiliser le zoom optique.
Techniques specifiques au telephone
Touchez pour faire la mise au point et ajustez l’exposition : Touchez l’ecran sur votre sujet pour faire la mise au point. Apres avoir touche, une petite icone de soleil ou un curseur apparait — faites glisser vers le haut pour eclaircir ou vers le bas pour assombrir. C’est la technique de photographie au telephone la plus utile et celle que la plupart des gens n’utilisent jamais.
Utilisez correctement le mode Portrait : Le mode Portrait simule la faible profondeur de champ d’un appareil professionnel. Il fonctionne mieux quand votre sujet est a 2-3 metres de l’appareil, l’arriere-plan est nettement plus eloigne, l’eclairage est bon et le sujet a des bords nets.
Le mode Nuit : Maintient l’obturateur ouvert pendant 1-5 secondes et fusionne plusieurs expositions. Tenez le telephone aussi stable que possible. Fonctionne aussi magnifiquement au crepuscule et dans les interieurs tamises.
Edition : la difference entre bon et excellent
Editer n’est pas tricher — c’est finir. Chaque photo professionnelle que vous avez jamais admiree a ete editee. Les cinq editions essentielles : recadrer et redresser, ajuster l’exposition, ajouter un leger contraste (+5 a +15), rechauffer legerement la balance des blancs (+5 a +15), augmenter la vibrance de 5-10 points. Applications : Lightroom Mobile (gratuit/premium), VSCO (gratuit/abonnement), Snapseed (gratuit), Apple Photos/Google Photos (integrees, gratuites).
Erreurs courantes a eviter
Objectif sale, toujours photographier a hauteur des yeux, sur-edition, ne jamais sauvegarder. Le vrai secret : les photographes qui produisent regulierement de grandes images ne sont pas ceux avec le meilleur equipement. Ce sont ceux qui prennent le plus de photos.
Techniques avancees de telephone
Photos en direct et mode rafale : Les Live Photos (iPhone) et Motion Photo (Android) capturent un court clip video avec chaque photo. Utiles pour les moments spontanes avec des enfants, des animaux ou des groupes — si quelqu’un a cligne des yeux dans l’image cle, vous pouvez parcourir le clip et selectionner une meilleure image. Le compromis : chaque Live Photo prend environ deux fois plus d’espace de stockage. Le mode rafale : maintenez le declencheur et faites-le glisser sur le cote (ou maintenez le bouton de volume) pour capturer une sequence rapide de photos. Essentiel pour les photos d’action.
Edition en detail
Editer n’est pas tricher — c’est finir. Chaque photo professionnelle que vous avez jamais admiree a ete editee. La question n’est pas de savoir s’il faut editer, mais combien. Les cinq editions essentielles : recadrer et redresser (le recadrage supprime les distractions sur les bords, le redressement corrige les horizons penches — l’erreur de photo amateur la plus courante), l’exposition (ajustez la luminosite globale), le contraste (legerement augmente, +5 a +15), la chaleur (la balance des blancs — la plupart des photos de telephone sont legerement trop froides, ajoutez +5 a +15), la saturation et la vibrance (la vibrance est une version plus intelligente de la saturation, commencez par +5 a +10).
Applications d’edition : Lightroom Mobile (gratuit, premium 5 euros/mois) — le plus puissant editeur photo mobile avec des outils de qualite professionnelle. VSCO (gratuit, abonnement 20 euros/an) — les meilleurs presets d’emulation de film. Snapseed (gratuit) — l’outil d’ajustement selectif de Google est unique et extremement utile. Apple Photos / Google Photos (integrees, gratuites) — les editeurs integres sont suffisants pour les ajustements de base.
Erreurs courantes a eviter
Objectif sale : Votre telephone vit dans votre poche ou votre sac. L’objectif accumule empreintes digitales, poussiere et crasse. Un coup de chiffon microfibre avant de photographier ameliore nettement la nettete et le contraste. Toujours photographier a hauteur des yeux : La hauteur des yeux est l’angle le plus ennuyeux car c’est ainsi que nous voyons le monde toute la journee. Accroupissez-vous, tenez le telephone au-dessus de votre tete, rapprochez-vous. Sur-edition : L’erreur d’edition la plus courante est de pousser les curseurs trop loin. En cas de doute, faites moins. Ne jamais sauvegarder : Les telephones se perdent, se font voler et tombent dans l’eau. Activez la sauvegarde automatique dans le cloud. Les frais mensuels de stockage cloud sont une assurance bon marche contre la perte d’annees de souvenirs.
Le vrai secret
Les photographes qui produisent regulierement de grandes images ne sont pas ceux avec le meilleur equipement. Ce sont ceux qui prennent le plus de photos. Ils photographient chaque jour. Ils essaient des choses. Ils suppriment la plupart de ce qu’ils capturent. Le volume est le chemin le moins romantique mais le plus fiable vers l’amelioration. Prenez plus de photos que vous ne pensez necessaire. Essayez differents angles, differentes compositions, differentes expositions. Passez-les en revue plus tard et identifiez ce qui a fonctionne. Supprimez le reste. Avec le temps, votre taux de reussite s’ameliore — non pas parce que vous reflechissez plus fort sur le moment, mais parce que votre oeil a ete forme par les milliers de photos qui l’ont precede.