L’erreur la plus courante en photographie de voyage n’est pas technique — c’est existentielle. Les gens passent tellement de temps a essayer de capturer la photo parfaite qu’ils oublient de vivre l’endroit qu’ils photographient. Ils regardent un coucher de soleil a travers un ecran, cadrent une cathedrale dans un viseur et manquent l’experience reelle d’etre la.
Une bonne photographie de voyage n’exige pas de choisir entre vivre un moment et le capturer. Elle exige d’etre intentionnel sur le moment ou vous prenez l’appareil photo et le moment ou vous le rangez. Voici comment prendre de meilleures photos de voyage avec l’appareil que vous avez.
La philosophie
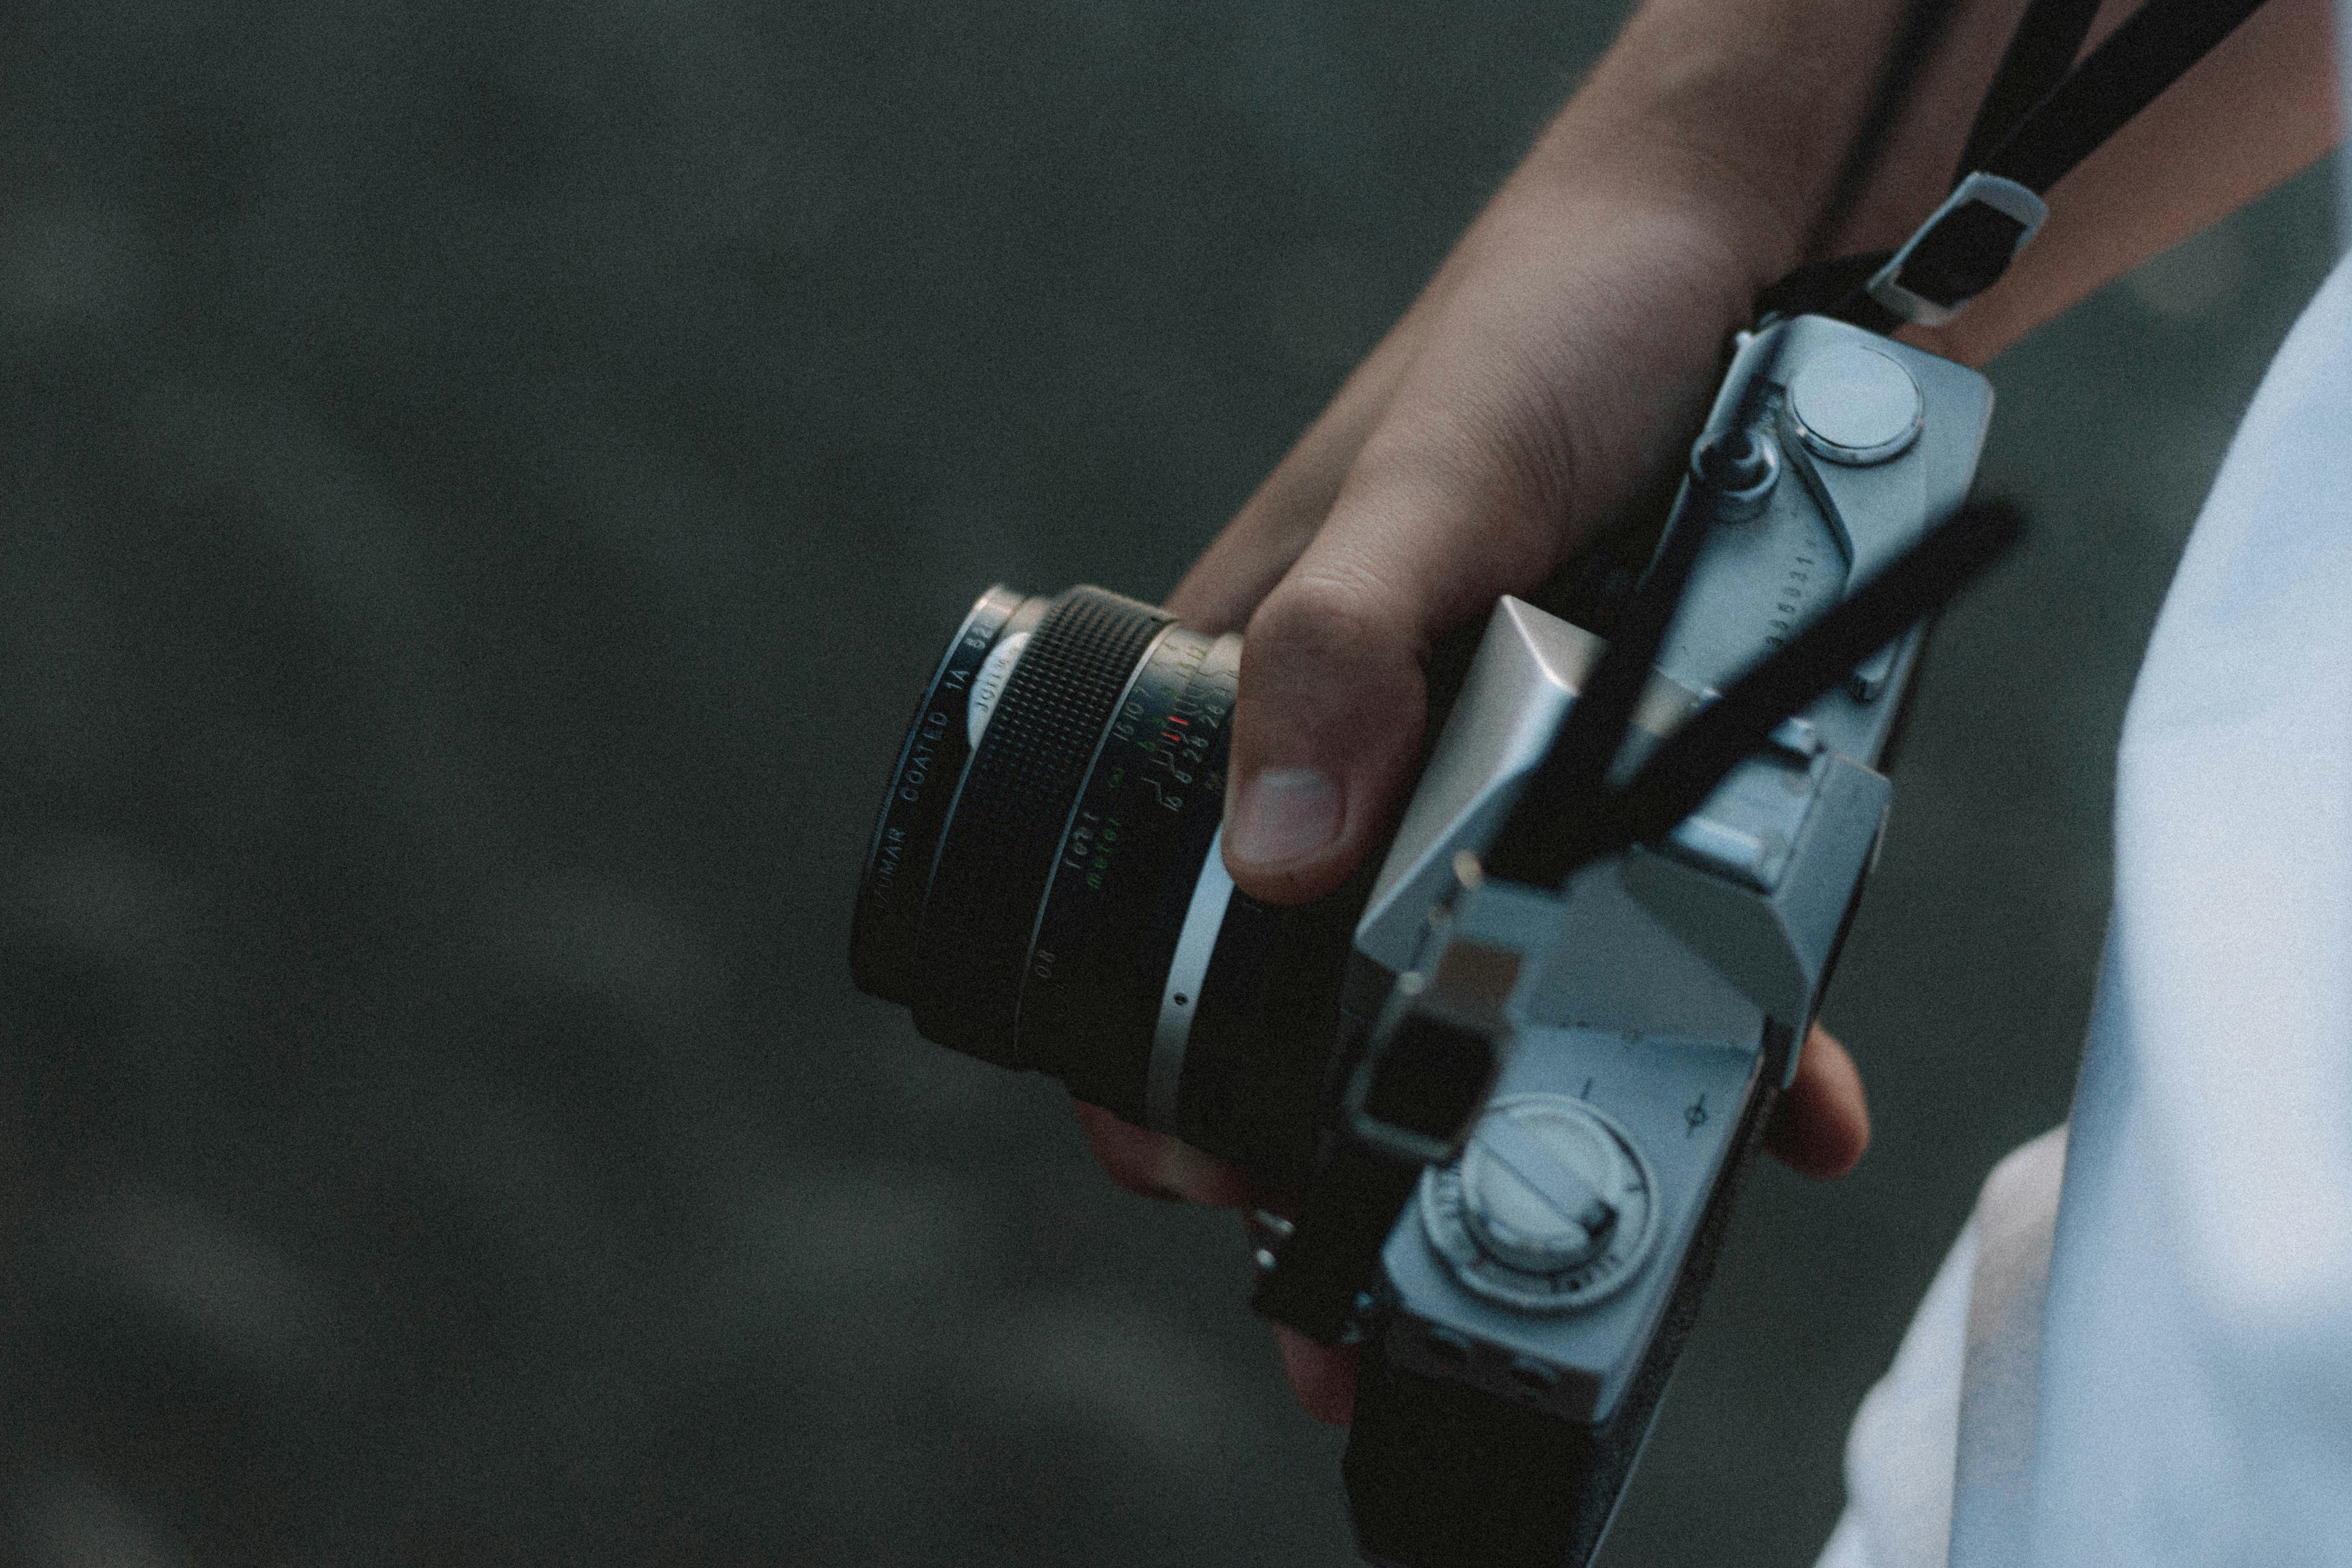
Photographiez moins, pas plus. Capturez ce que vous avez ressenti, pas seulement ce que vous avez vu. Le meilleur appareil photo est celui que vous avez avec vous — votre telephone est suffisant et bien moins obstructif.
Composition
La regle des tiers : placez votre sujet a l’une des intersections d’une grille imaginaire. Les lignes directrices attirent le regard du spectateur vers votre sujet. Incluez des personnes pour l’echelle. Ajoutez un interet au premier plan pour creer de la profondeur.
Lumiere
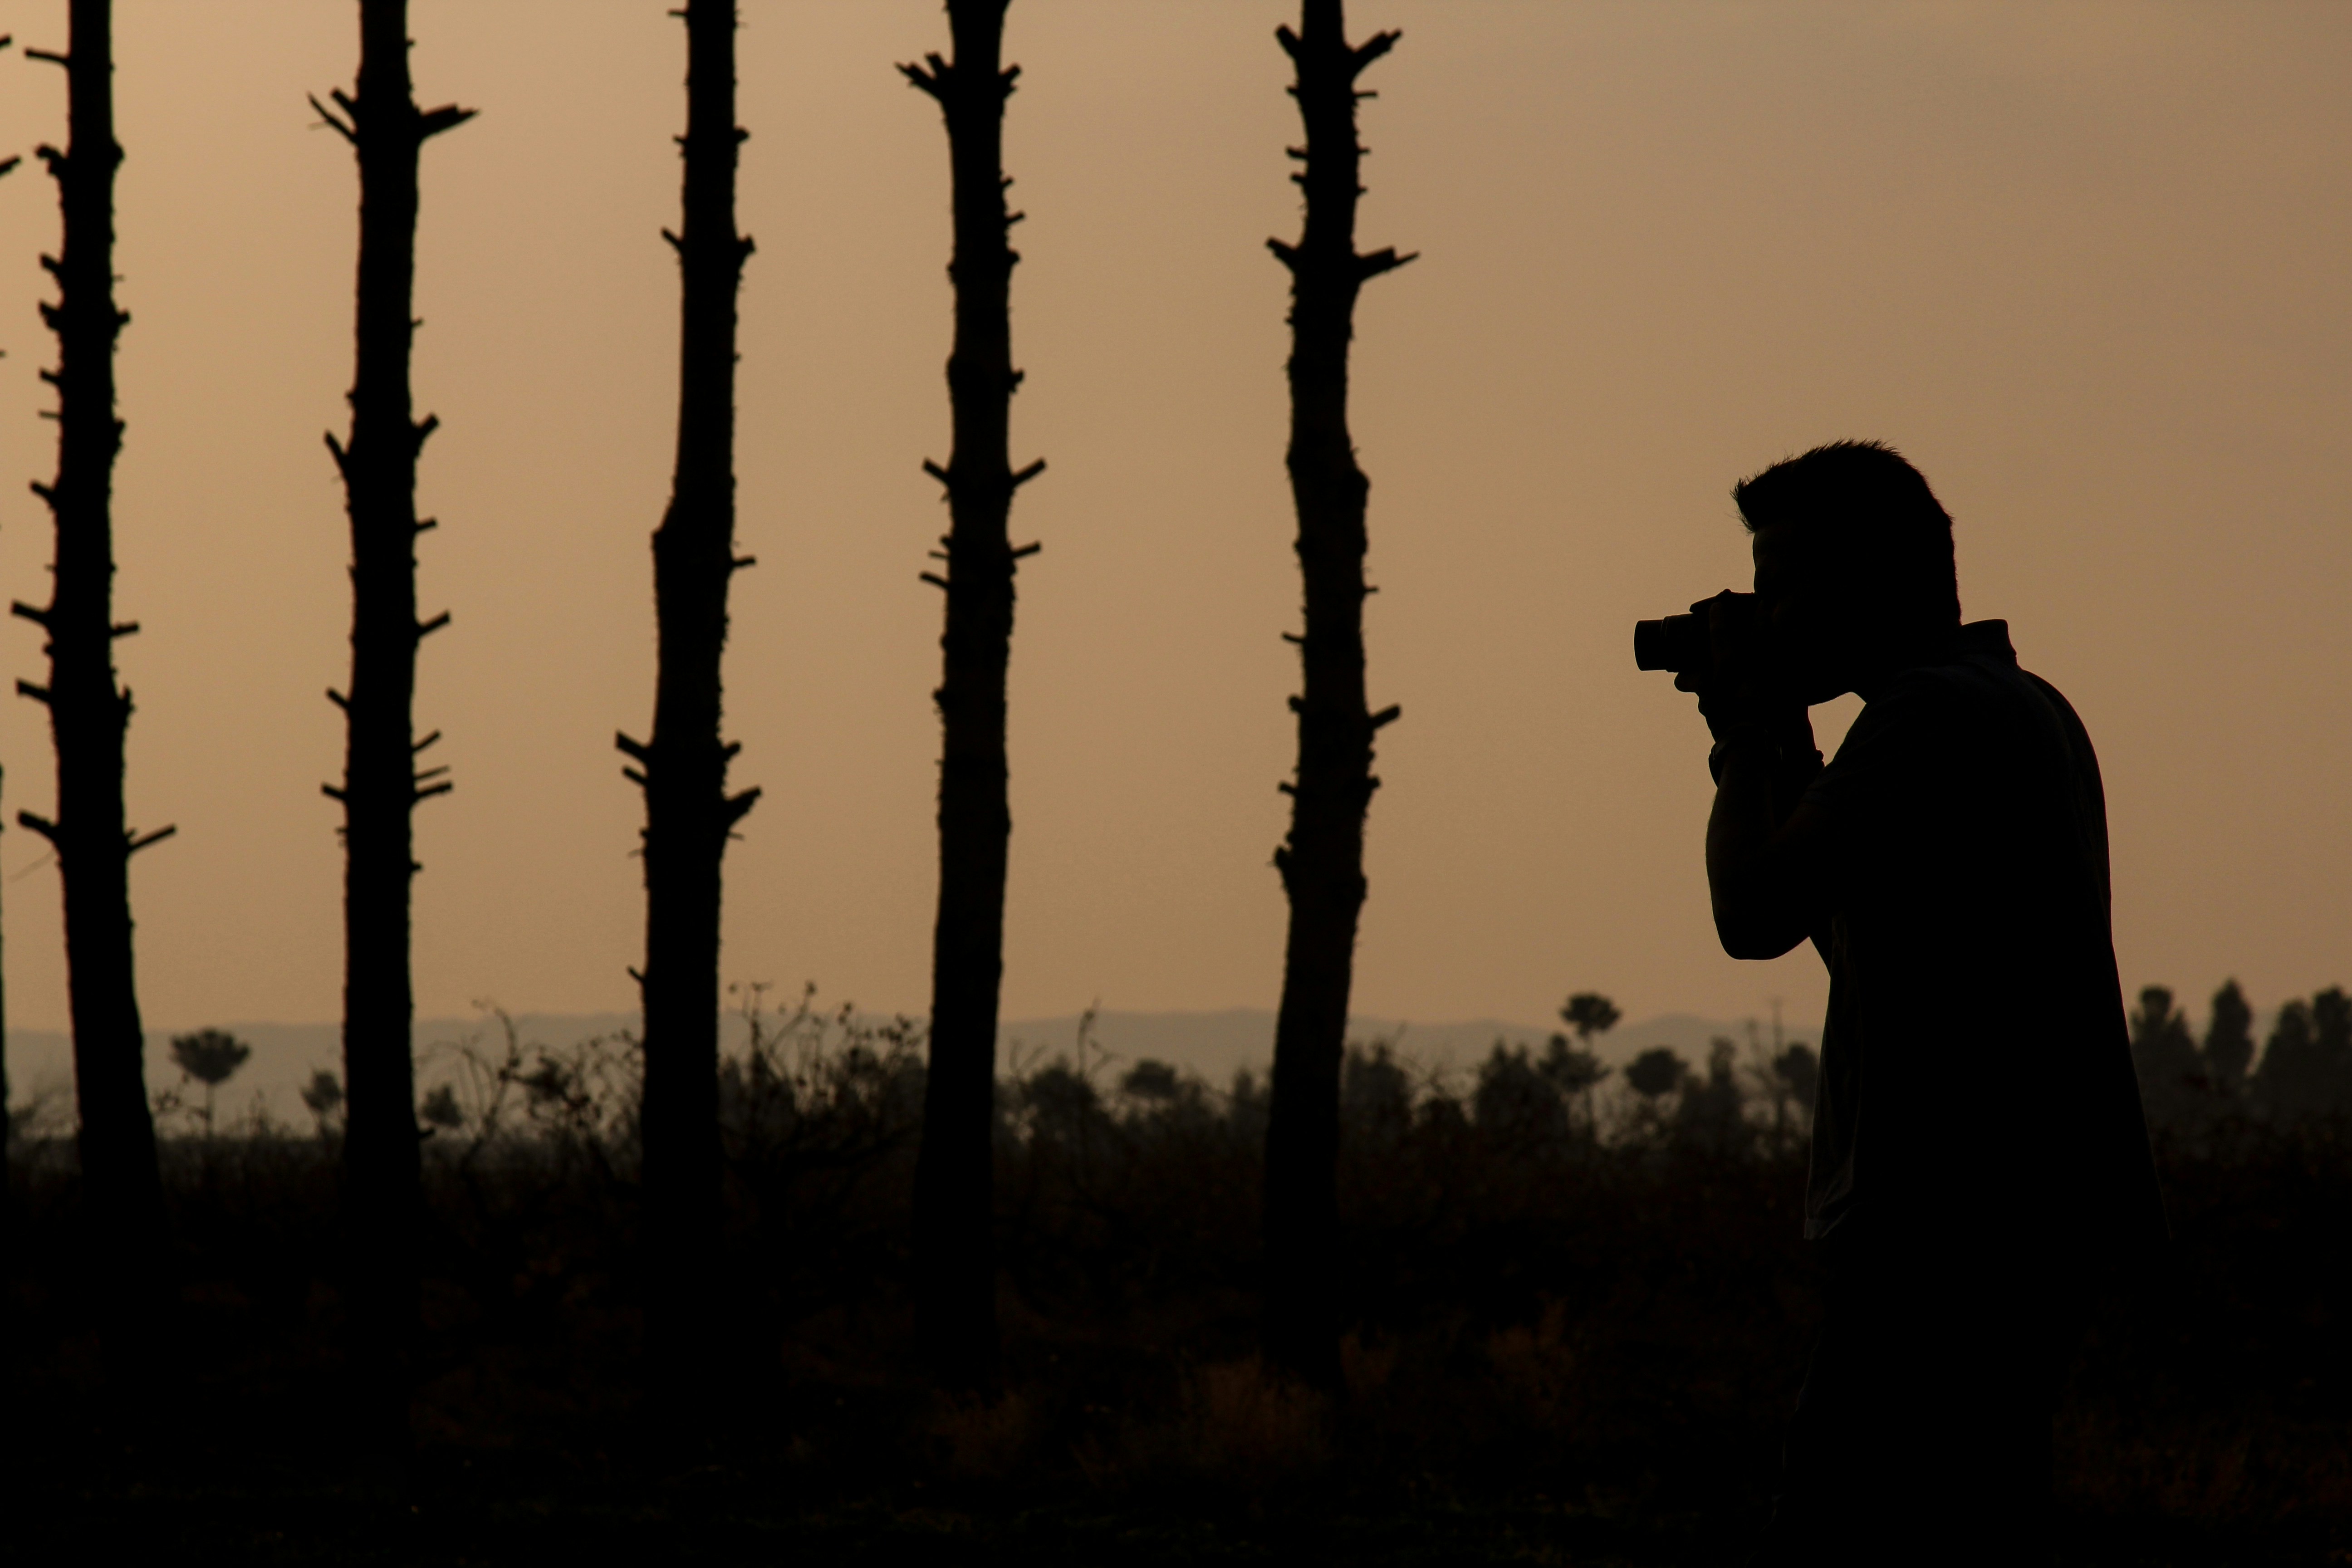
L’heure doree est reelle — l’heure apres le lever du soleil et avant le coucher du soleil produit une lumiere chaude et directionnelle. Les jours nuageux sont sous-estimes — la couverture nuageuse cree une lumiere douce et diffuse ideale pour les portraits. Le contre-jour cree du drame.
Techniques telephone
Touchez pour faire la mise au point et ajustez l’exposition. Le zoom numerique degrade la qualite — rapprochez-vous plutot. Le mode portrait fonctionne mieux a 2-3 metres du sujet. Le mode nuit necessite de tenir le telephone aussi stable que possible.
Conseils pratiques
Nettoyez votre objectif. Tenez-vous stable. Sauvegardez vos photos. Editez legerement — recadrez, ajustez l’exposition, ajoutez une touche de chaleur. Snapseed (gratuit) ou Lightroom Mobile pour l’edition. La meilleure photo de voyage n’est pas la plus techniquement parfaite — c’est celle qui vous transporte vers le moment.
Composition : les fondamentaux
La regle des tiers est le point de depart de toute bonne composition. Imaginez une grille de morpion sur votre cadre et placez votre sujet a l’une des quatre intersections plutot qu’au centre. La plupart des telephones ont une option de superposition de grille — activez-la et laissez-la activee. Les lignes directrices — un chemin, un rivage, une rangee de colonnes — attirent le regard du spectateur vers votre sujet et creent de la profondeur. Inclure des personnes pour l’echelle — une montagne est impressionnante ; une montagne avec une minuscule silhouette humaine au premier plan revele sa veritable magnitude. L’interet au premier plan — inclure quelque chose au premier plan immediat cree de la profondeur et donne l’impression au spectateur de regarder dans la scene.
Lumiere : la seule chose qui compte vraiment
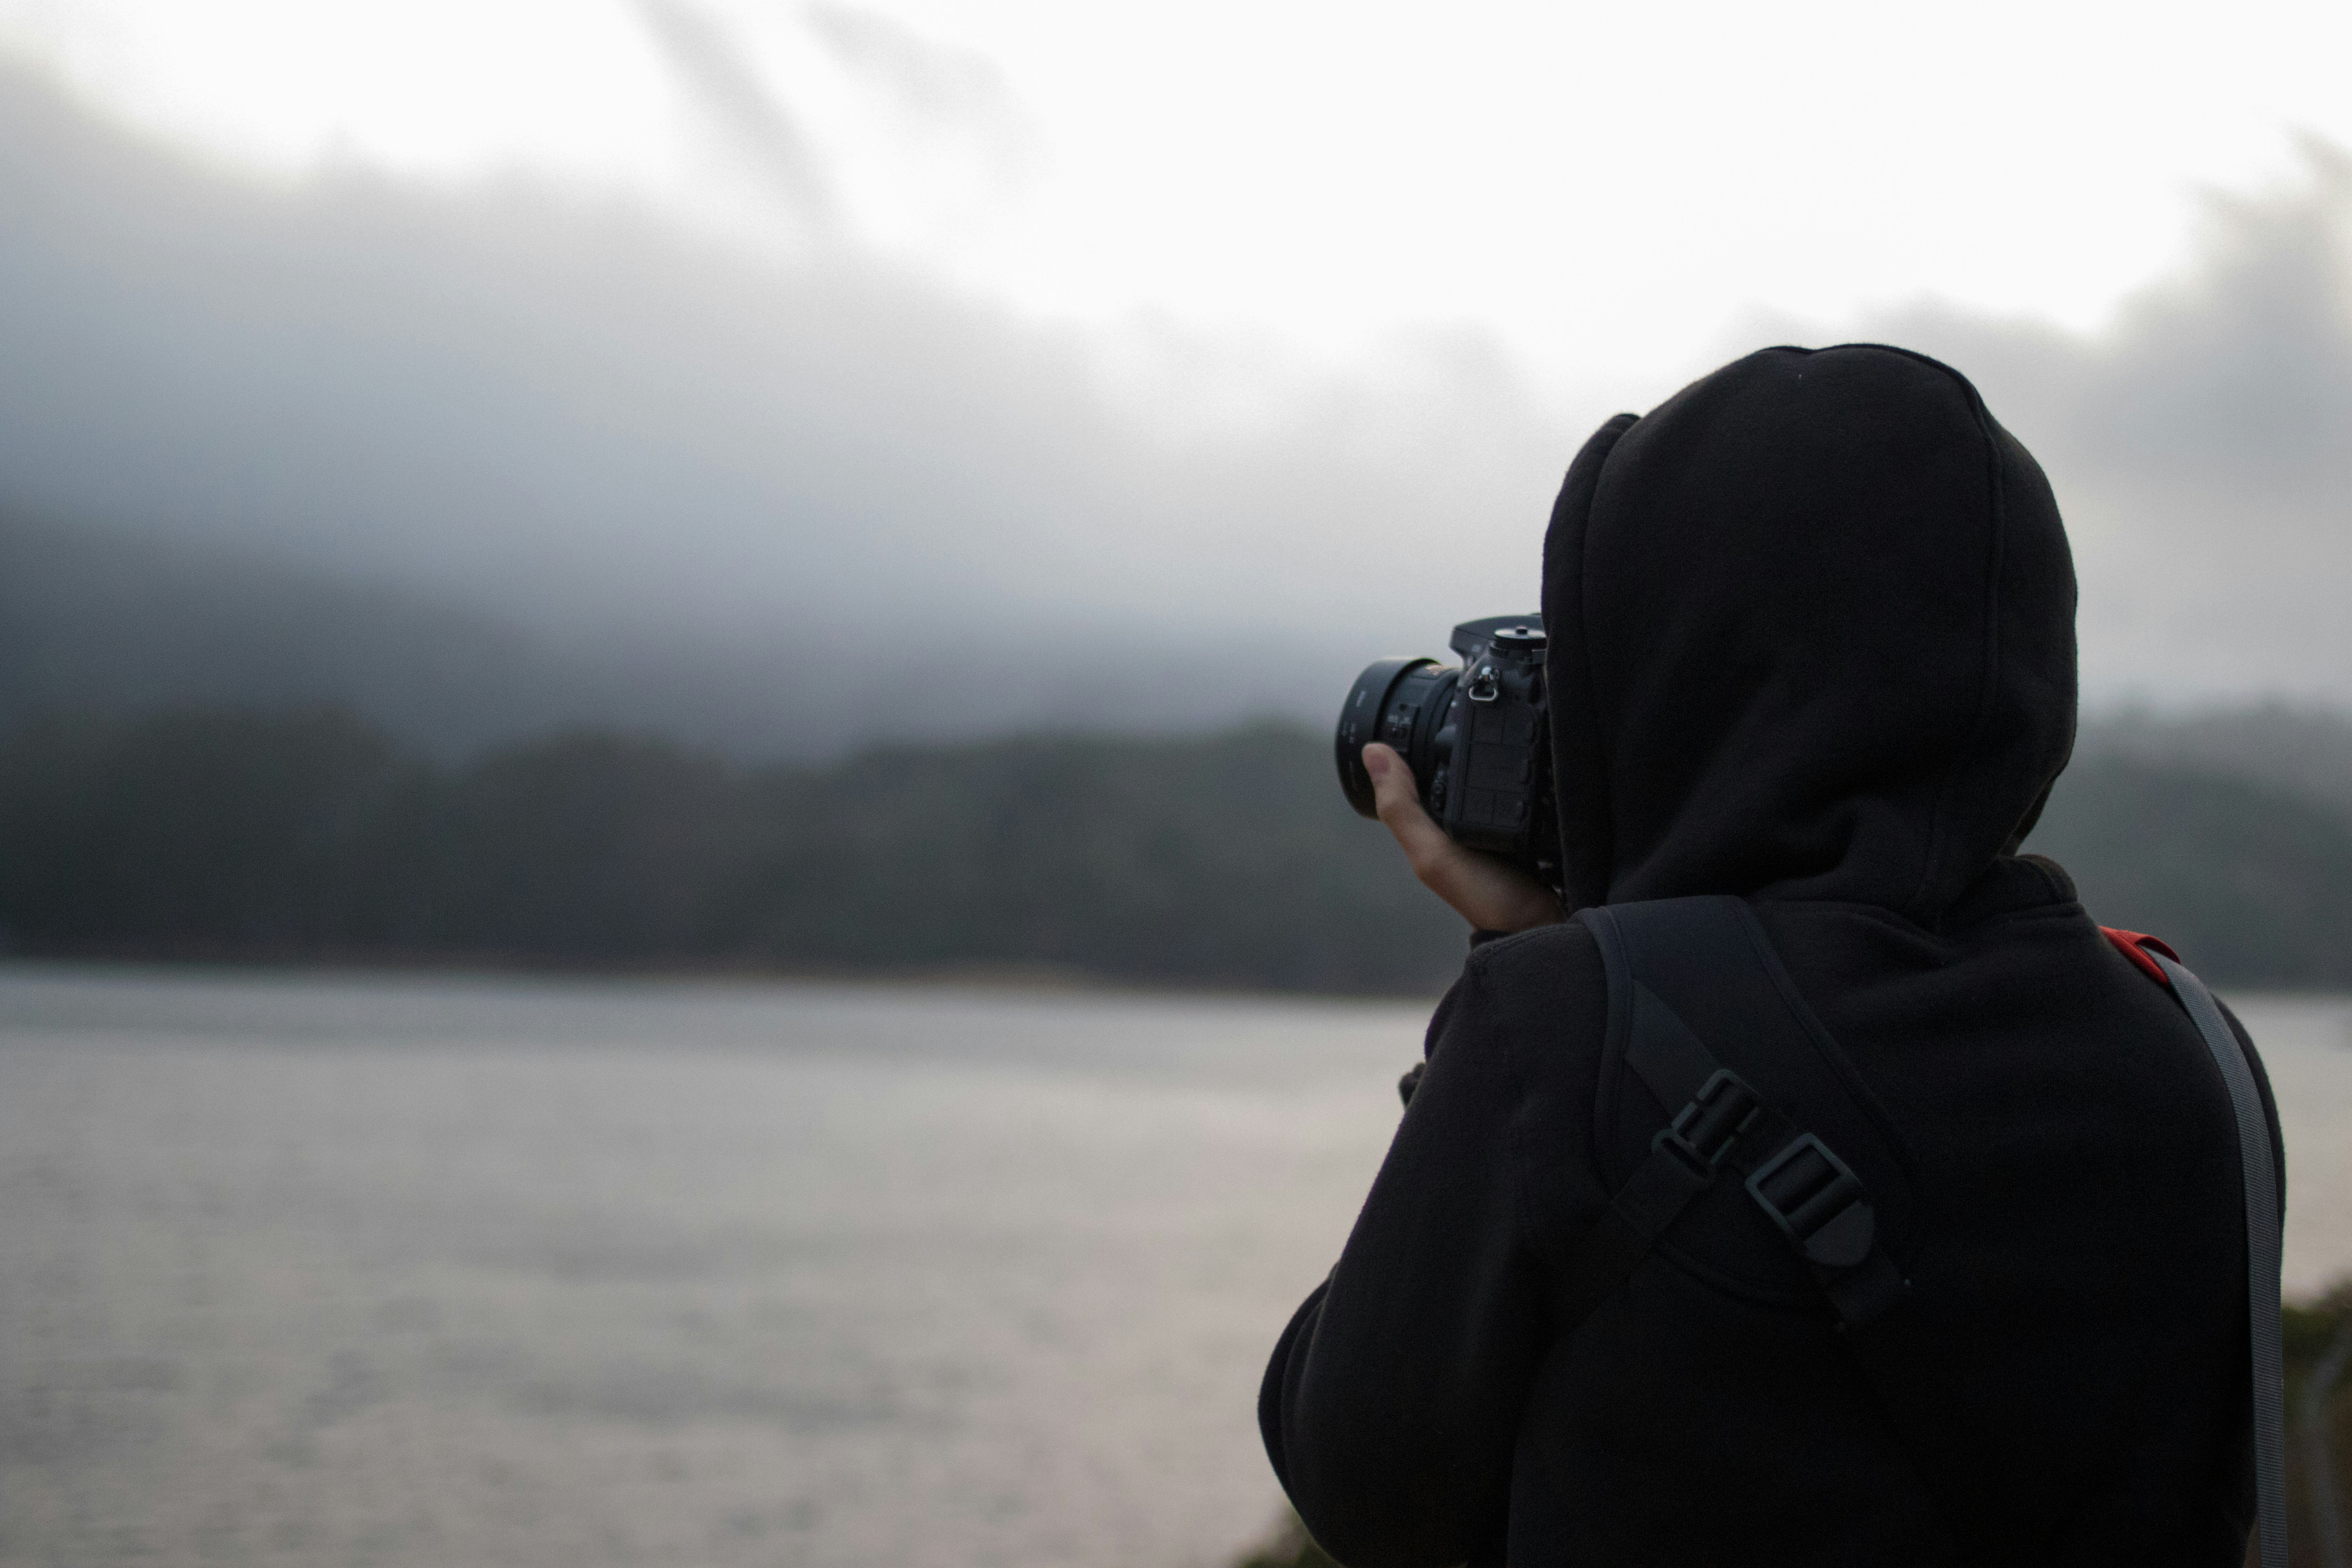
L’heure doree est reelle. L’heure apres le lever du soleil et avant le coucher du soleil produit une lumiere chaude et directionnelle qui rend tout meilleur. Planifiez vos photos d’exterieur autour de ces fenetres chaque fois que possible. Les jours nuageux sont sous-estimes — la couverture nuageuse cree une lumiere douce et diffuse, ideale pour photographier des personnes et capturer des couleurs saturees. Le contre-jour cree du drame — photographier vers la source de lumiere cree des silhouettes et un eclairage de contour.
Techniques specifiques au telephone
Touchez l’ecran sur votre sujet pour faire la mise au point, puis faites glisser le curseur d’exposition legerement vers le bas — la plupart des telephones surexposent par defaut. Le zoom numerique est un recadrage qui jette des pixels — rapprochez-vous physiquement de votre sujet. Le mode portrait fonctionne mieux a 2-3 metres du sujet avec un arriere-plan eloigne. Le mode nuit necessite de tenir le telephone aussi stable que possible pendant 1-5 secondes.
Edition : la difference entre bon et excellent
Editer n’est pas tricher — c’est finir. Recadrez et redressez. Ajustez l’exposition. Ajoutez un leger contraste. Rechauffez legerement la balance des blancs. Augmentez la vibrance de 5-10 points. Snap
Conseils pratiques
Nettoyez votre objectif avant chaque prise de vue — votre telephone vit dans votre poche et l’objectif accumule empreintes et poussiere. Tenez-vous stable, surtout en basse lumiere — calez vos coudes contre votre corps. Sauvegardez vos photos pendant le voyage — activez la sauvegarde automatique dans le cloud. Editez legerement — si on peut voir que la photo a ete editee, elle l’a ete trop. Et surtout : prenez plus de photos que vous ne pensez en avoir besoin. Le volume est le chemin le moins romantique mais le plus fiable vers l’amelioration.